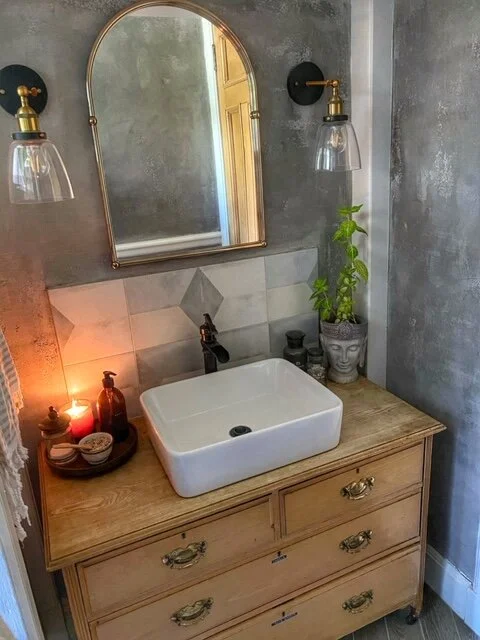
How To Make a Bathroom Vanity from Vintage Furniture
The original ‘washstand’ was popular throughout the 18th century. It consisted of a wooden cupboard or set of drawers with a stone countertop. A ceramic wash basin and water pitcher sat on top and you would fill these with water when you needed to wash or shave. Nowadays, we have the luxury of plumbing, but this makes the fusion of old and new slightly more complicated. I will talk you through how I turned a bargain antique chest of drawers into a bathroom vanity unit.
The Cuts
My vanity has four drawers. This concept is much easier if you decide to use a unit with cupboards below. Having drawers means you’ll need to make more cuts. The first two cuts are made through the top of the unit; one for the plug hole (waste) and one for the tap. Once you’ve established the position of these, you can figure out where your other cuts need to be made below.
The drawers are unable to close fully because of the plumbing, so you’ll need to cut out any sections that are in the way of the pipe routes. The drawers I used had a small gap down the back so the plumber was able to divert all the pipes towards the back to minimise cuts. The top two drawers needed small sections off each corner, the back, plus the support (that separates the two drawers) down the middle. The bottom drawers only needed a slot cut out the middle (back) for the waste pipe, since this is thicker.
There will also be cuts through the bottom where the pipe meets the floor. Several corner pieces are required for the plumbing to give the tidiest finish. There are lots of options, depending on which type of unit you use. With cupboard doors, you will only need top and bottom cuts (plus through any shelves inside). With wall taps, you will need less cuts again. I chose the most complicated option, of course. In hindsight, the cuts I made could have been much smaller but, as with everything I do, I went on a trial and error basis. I’m here to tell the tale so that when you try it, you’ll do a better job!


Cuts in the top drawers

View from underneath
Dimensions
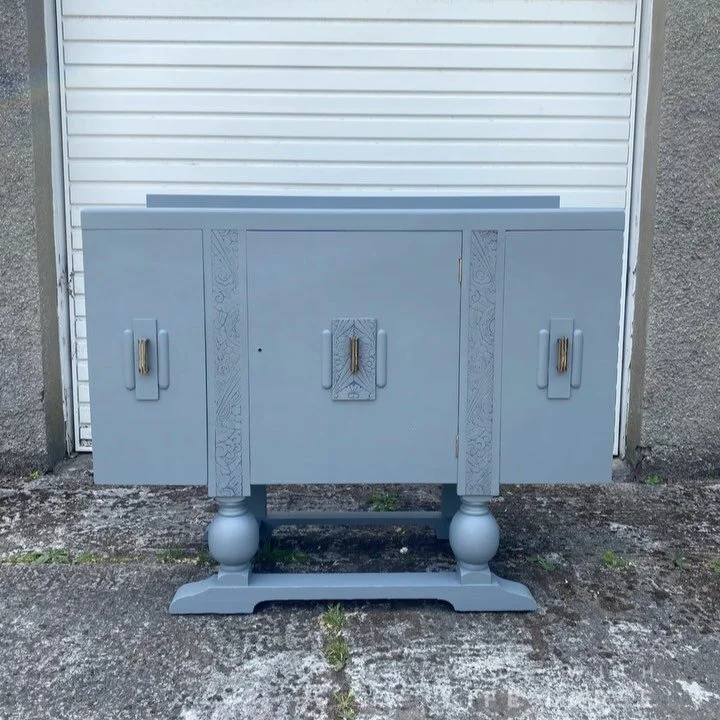
When choosing your vanity, it’s important to consider the measurements of it. You may already have a piece of furniture in mind, a family heirloom or a salvage find. An option is to adapt the size so that it fits your needs, but if you’re on the lookout for that perfect piece, here are a few things to consider:
The height - my basin is 13cm high. The unit is 77cm high. Added together, that equals 90cm. That is a comfortable height for me when I come to use it. The ideal height is probably somewhere between 80-100cm from the floor to the top of the basin. If you’re unsure, compare the heights of any sinks that you use elsewhere, for example, at work or in a restaurant. If you find one you like, measure it and use it as a guide. Apply your own rules, but think about whether children will be using it, perhaps you have back problems and don’t like crouching over too much. The height of the vanity may impact the position of the mirror etc. so adapt it to your circumstances and preferences.
The width - my vanity had to fit within a confined space so I spent a lot of time searching for the perfect one. Again, there is no right or wrong answer to this. If you’re going for a double vanity (with two sinks) then make sure you allow for elbow room in-between (around 55-60cm spacing).
The depth - this will depend on the depth of your basin and the position of your tap. Make sure you allow enough room for both. If you’re choosing the vanity unit before the basin and taps then adapt your choices to the vanity. I also had to consider the space where my vanity was located because the drawers open into the walkway of the bathroom. I had to work with a long, narrow tenement bathroom so space planning was vital. The depth of the vanity had to be deep enough for the basin and tap, but shallow enough so that the bathroom door could open freely. The depth of the vanity doesn’t come further than the doorway, however, if the drawers were open then the door would hit off the side of the drawer.
Storage
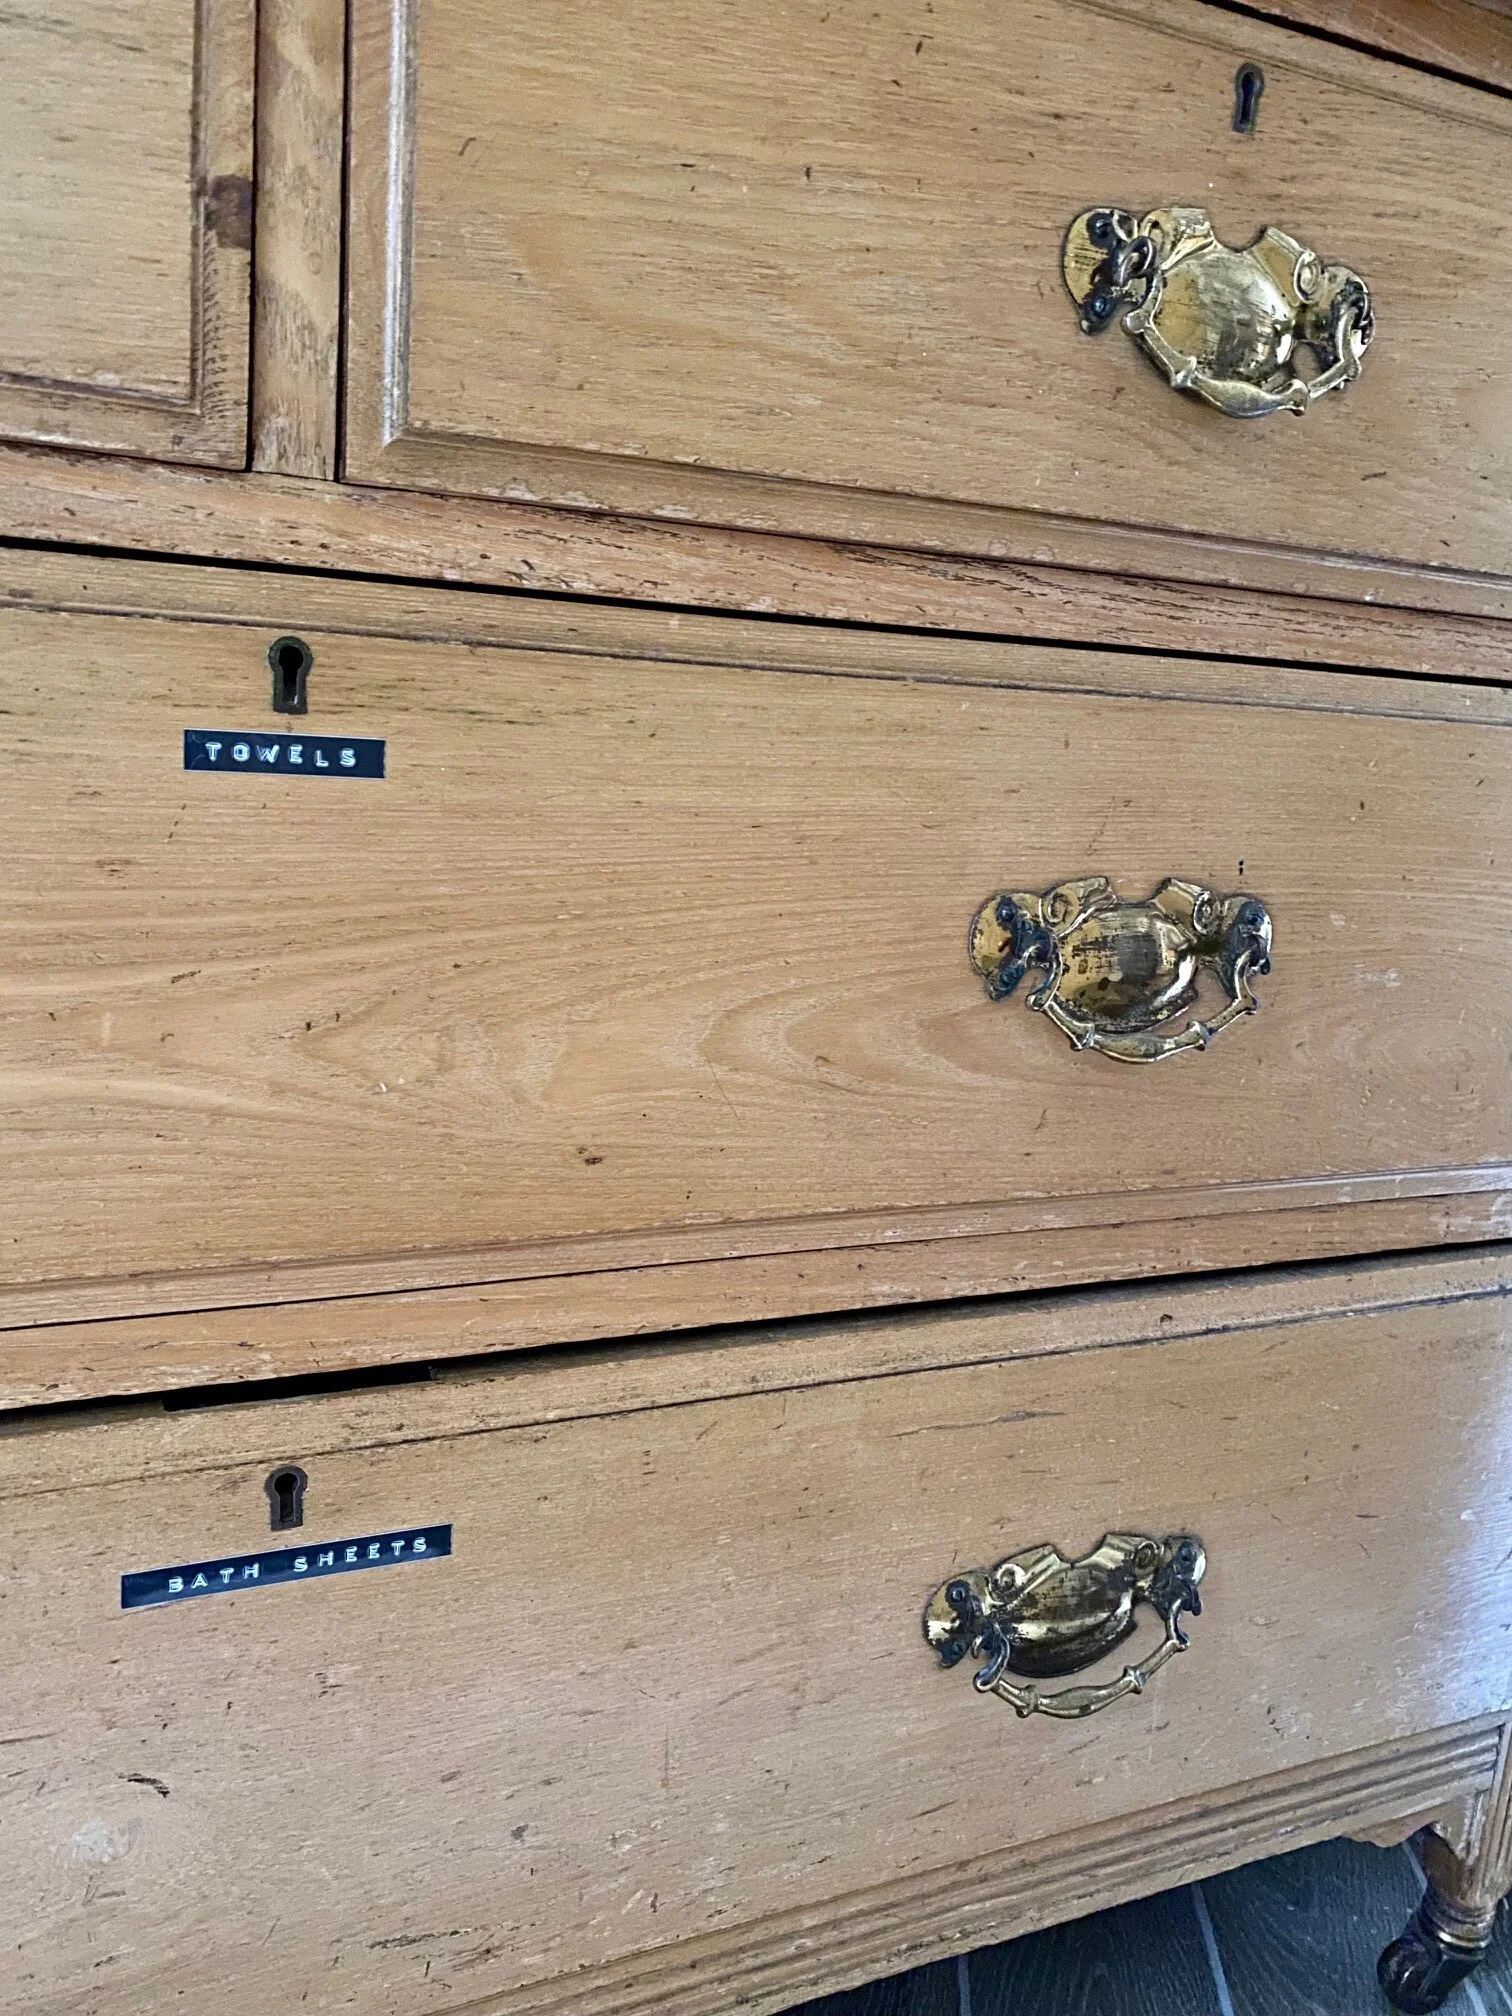
Not only is an antique or vintage piece beautiful and interesting, it’s also practical. Once you get over the logistics of it, you’ll have a timeless talking piece in a room where you’d least expect it. I keep towels in the bottom two drawers. Towels don’t roll around so I don’t have to worry about them rolling down the back. However, if you choose to store toiletries etc. inside then there are some solutions:
You could use the off-cuts of wood to create a new ‘wall’ along the cut lines so that things don’t roll down the hole in the back.
You can buy adjustable, acrylic ‘organisers’ that will fit to your drawer. They have practical compartments, keeping all your bits and bobs in their place.
Both are clever ways of utilising the most of the space available. I used my label maker to create labels for each drawer.

Acrylic compartments in the top drawers
The vanity I bought had a groove in the back of it for a mirror to slot into, but it didn’t come with a mirror so, I just decided to insert a tile splashback into it. I sealed the countertop with a matt lacquer. The vanity has held up perfectly for three years so far. It was worth the effort and the engineering that went into it. I still love it as much as I did from day one. If you’re considering trying this yourself then I hope this guide was helpful. Please let me know how you get on and if you have any questions.