How to Create a Bookshelf with Reclaimed Scaffolding Boards and Pipe

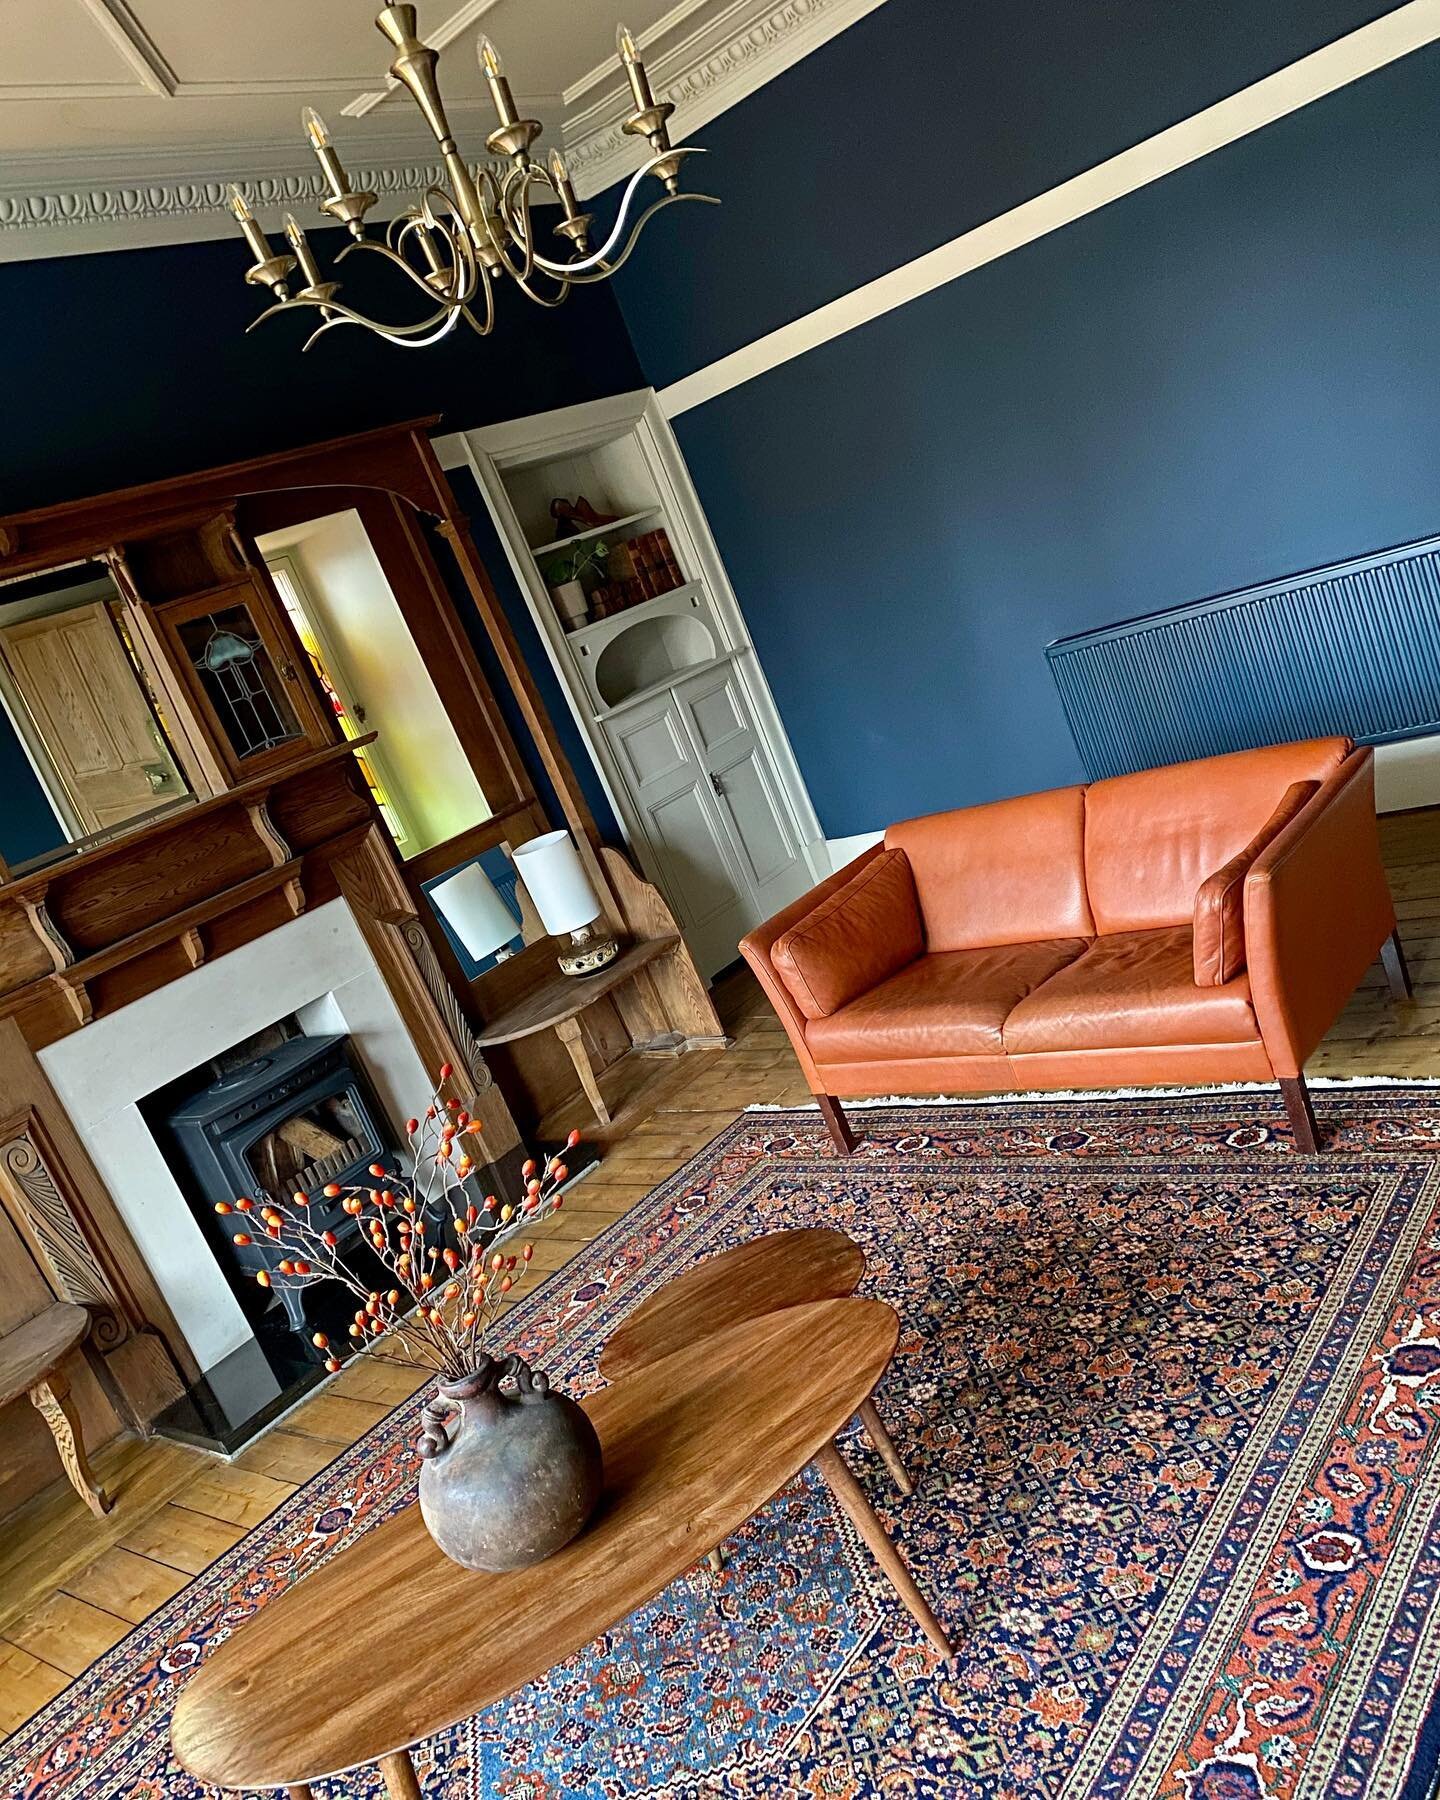
We have a huge bedroom in our home so I wanted to add a creative space for myself and a studio area for Graeme’s music. The big empty wall, directly opposite the window, was just screaming for attention. So, I decided to create floor-to-ceiling shelves with a built-in desk. I knew I wanted to use reclaimed scaffolding boards and industrial pipe. I’ve used these materials several times before and they’re inexpensive and easy to work with.
I had a vision in my mind of what the shelving unit would look like so I sketched it out first:

My calculations went like this:
The width of the shelves was based on visual appeal: 400 mm from the radiator on one side and 400 mm from the wall on the other side. This meant that the shelves would be 2,400 mm wide.
The height to the top of the desk is 745 mm. This was based on the recommended height of a desk (anywhere between 710 – 760 mm) and adjusted to the seat height (460 mm). Leaving a healthy 250 mm of space between the seat and the under-side of the table.
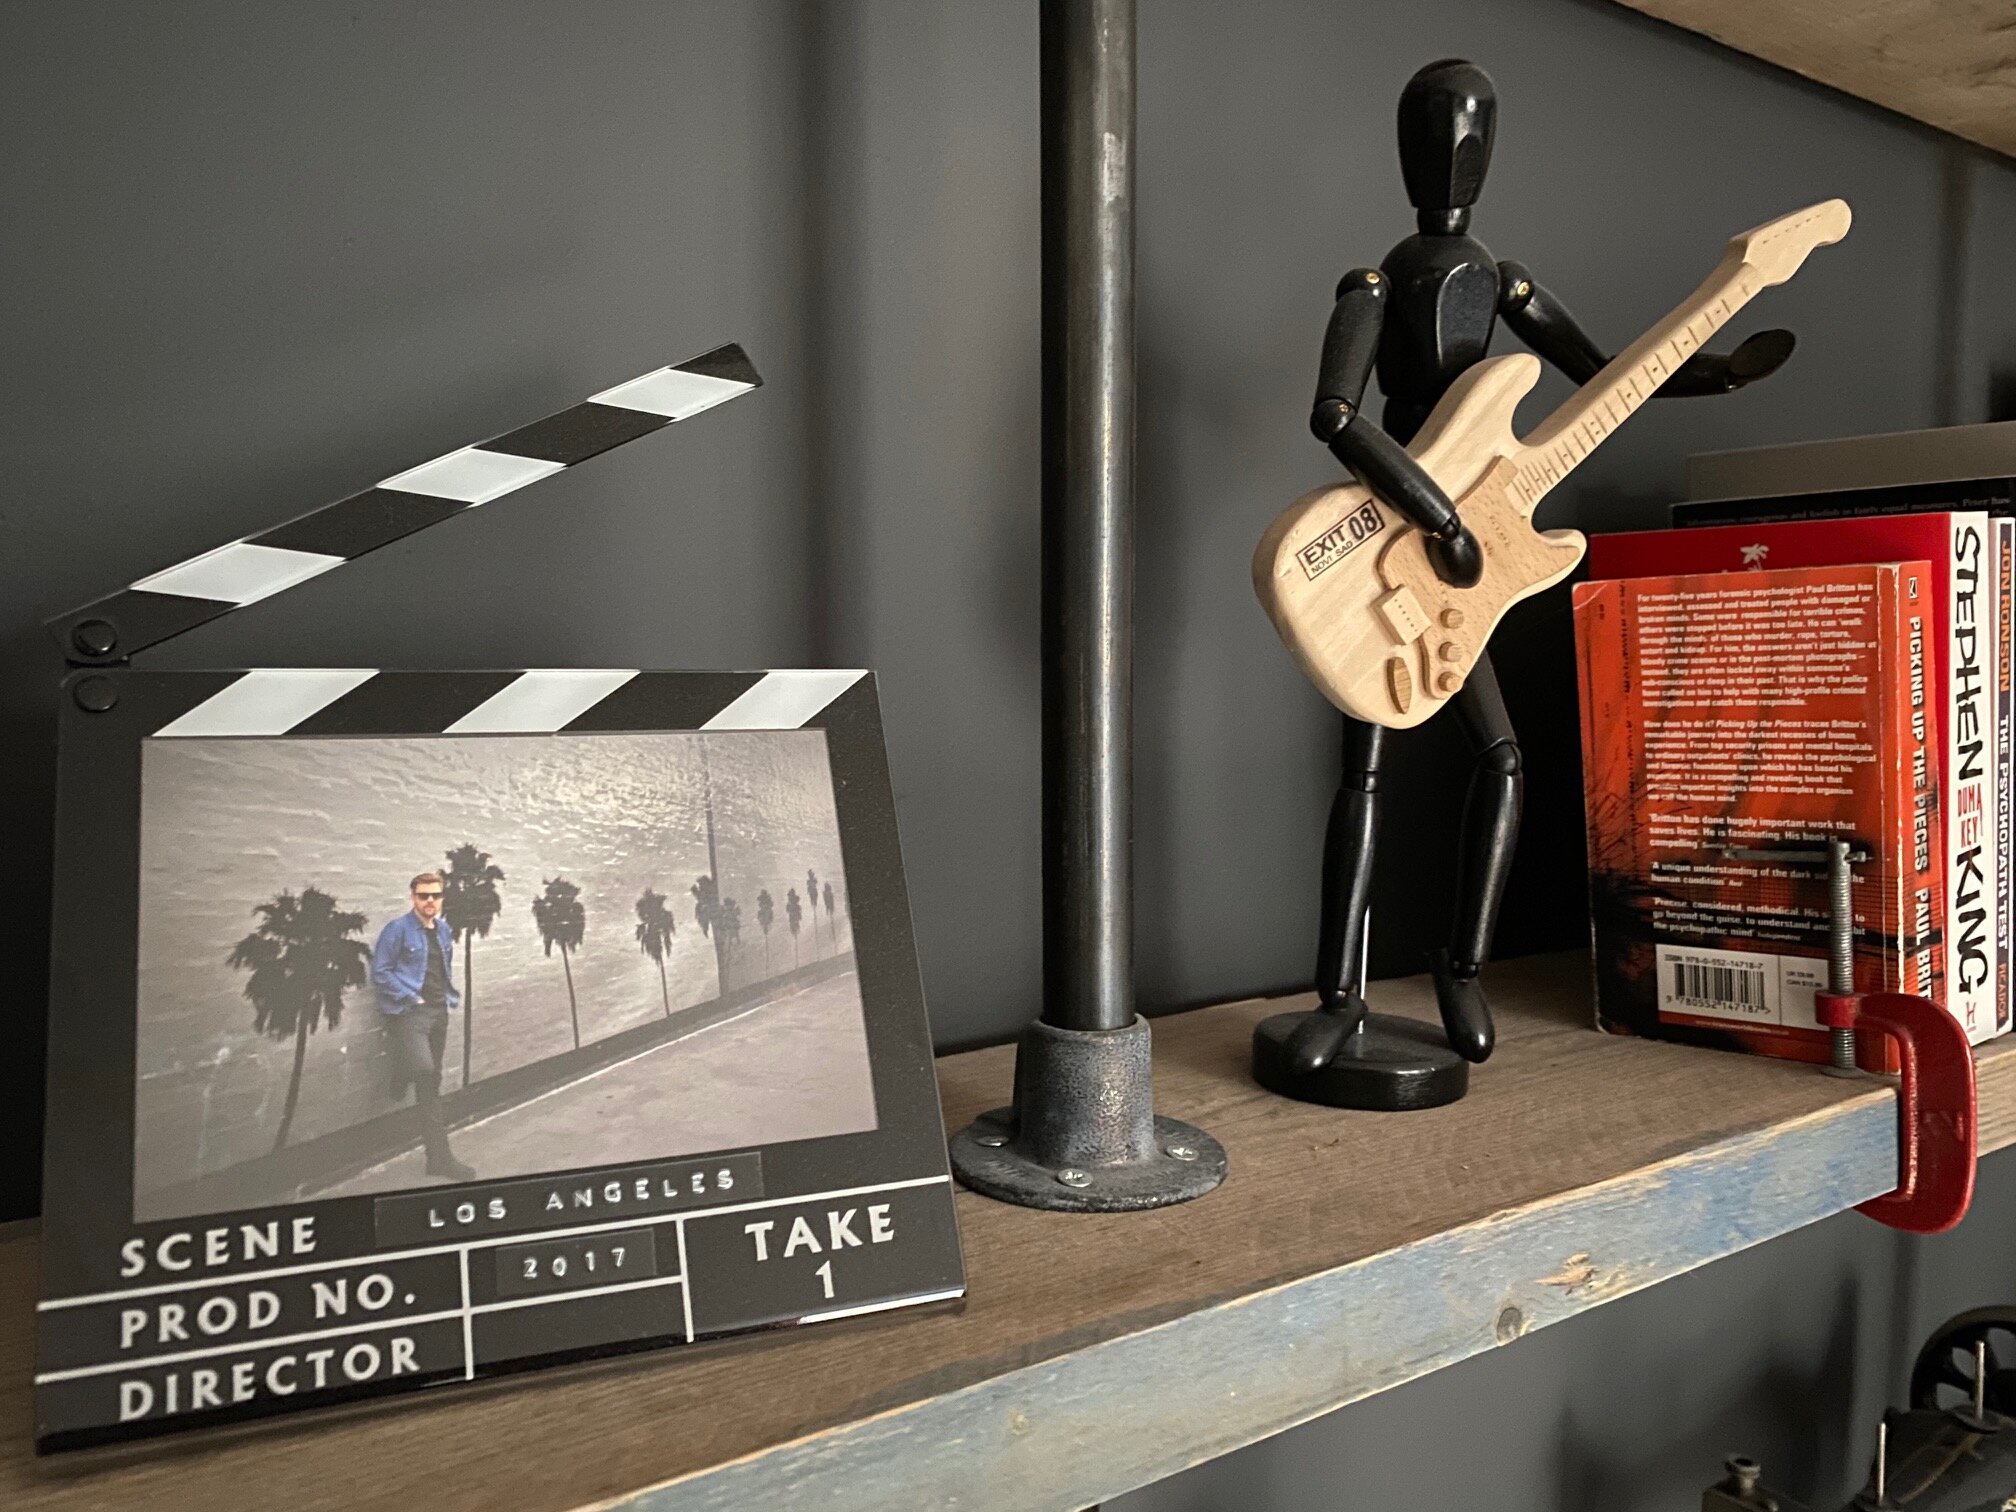
I had a collection of items that I knew I would display here so I picked the tallest one and measured it. My African mask is 450 mm tall so I decided that the ideal spacing between shelves would be 460 mm. I wanted four shelves (including the one that was level with the desk). Given that the thickness of each scaffolding board is 35 mm, my calculations determined that the total height of the unit would be 2,690 mm. Luckily, we have high ceilings so the shelves don’t look out of place.

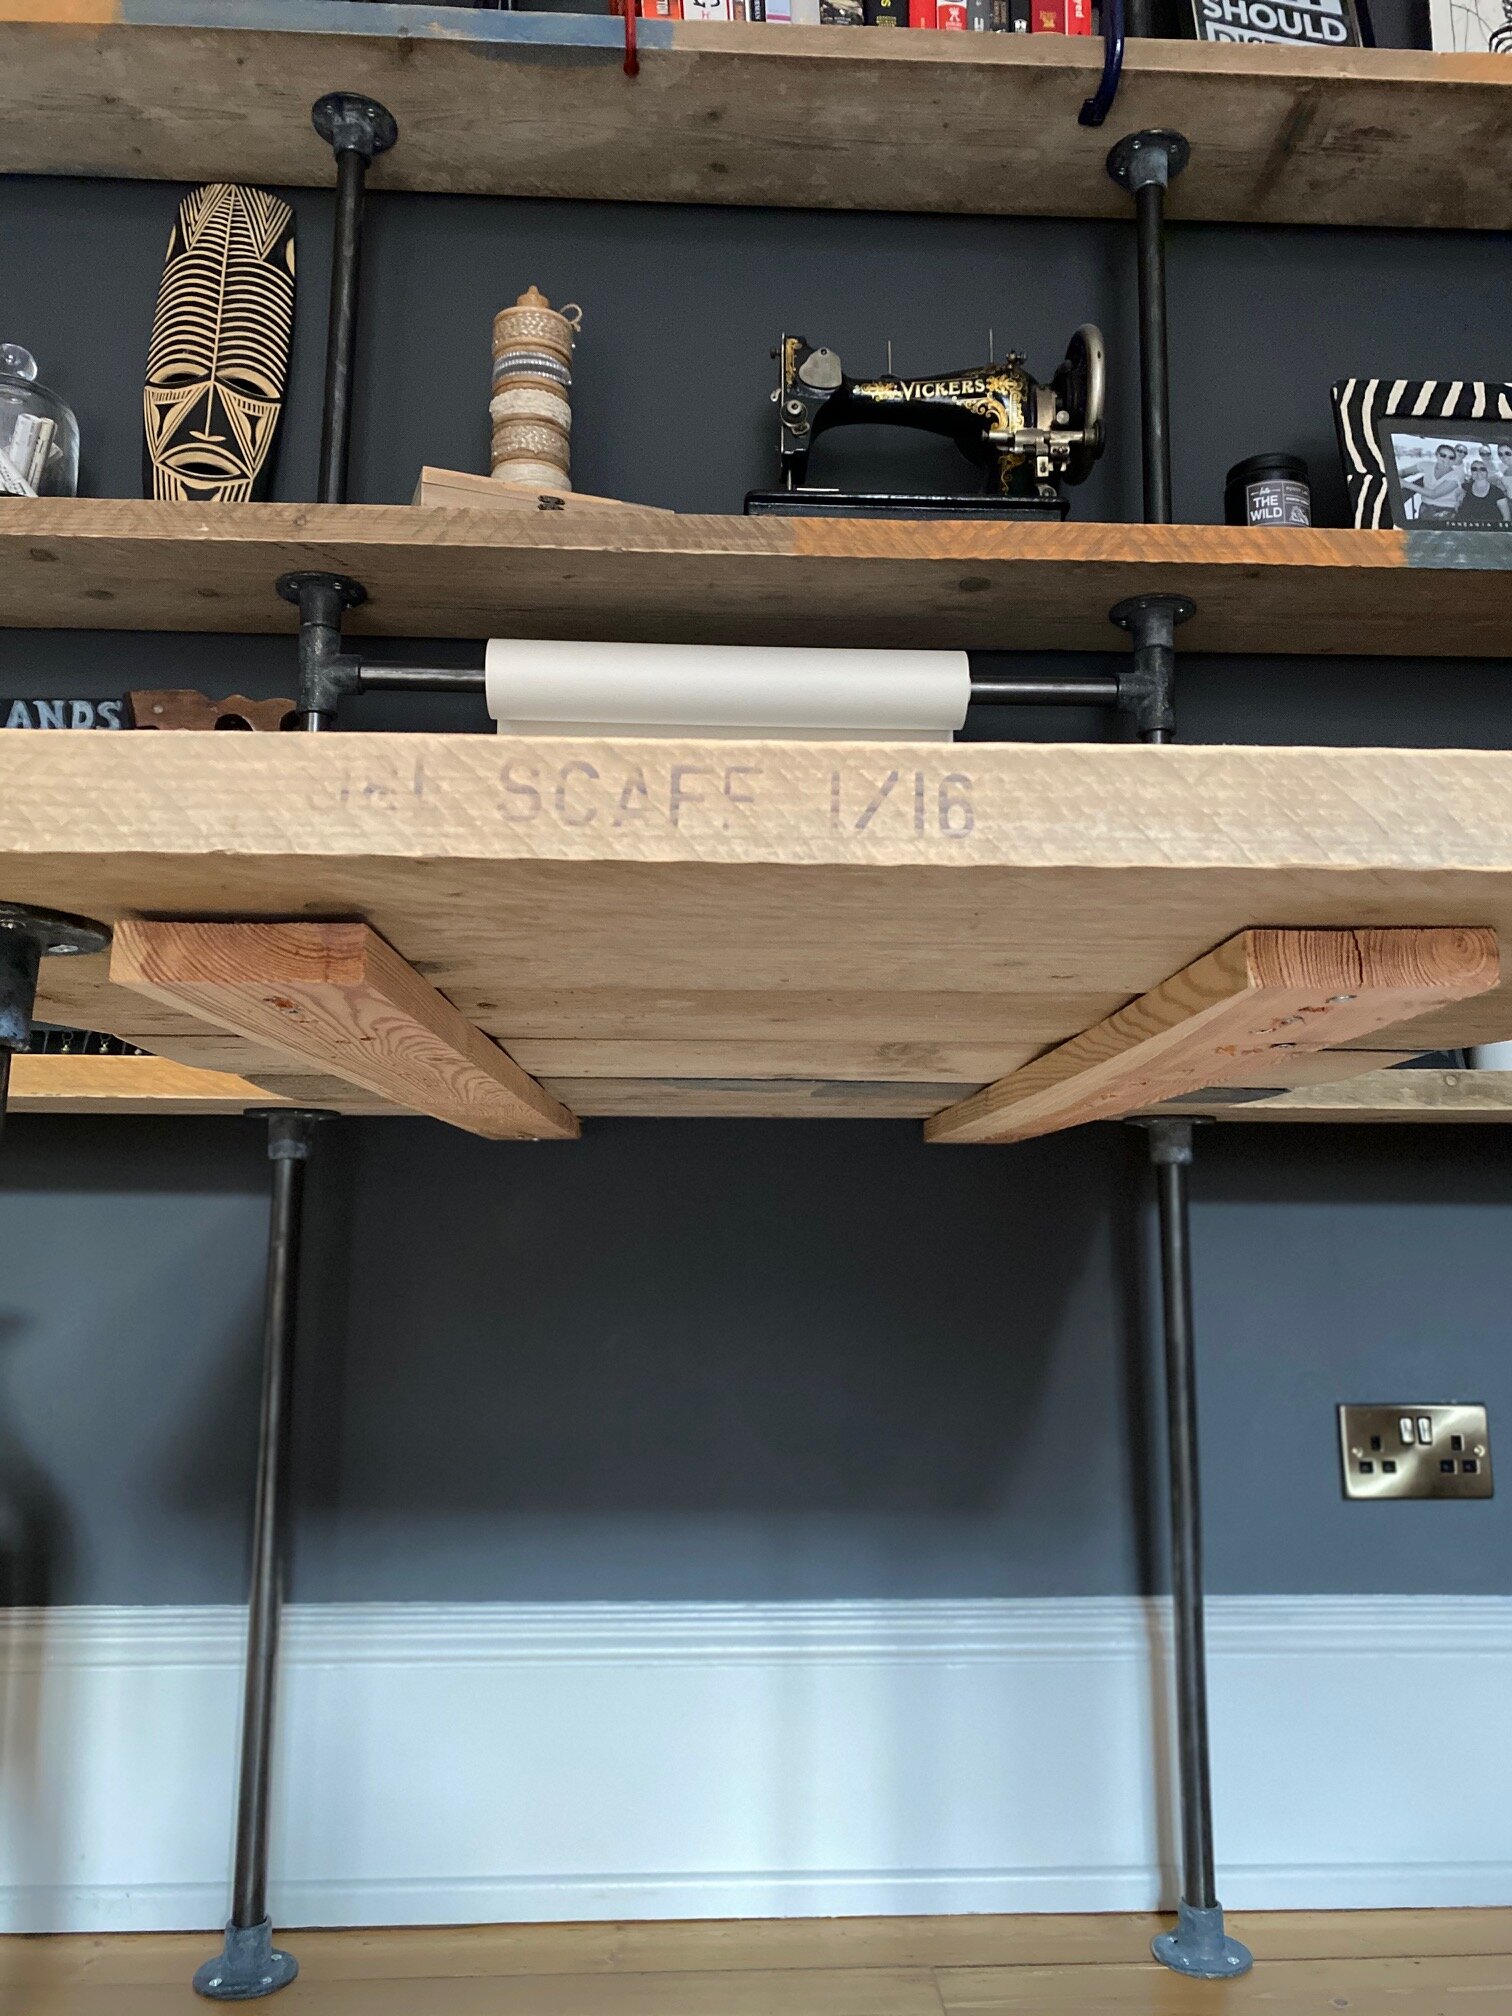
I chose to use four pipe supports per shelf, so 16 in total. They’re spaced evenly on the outer two columns but slightly wider in the middle column. There are six sets of legs at the bottom, which are screwed into the floor for extra support. Tip: make sure there are no pipes underneath the floorboards that you’re screwing into. The four pipe supports at the top have an elbow on each and a return that goes towards the wall. These were screwed into the wall at the top, all the way through to the brick. The rest of the pipe is screwed into the scaffolding boards only. Initially, I wasn’t sure if this structure would be strong enough but it’s still standing two years on, phew!


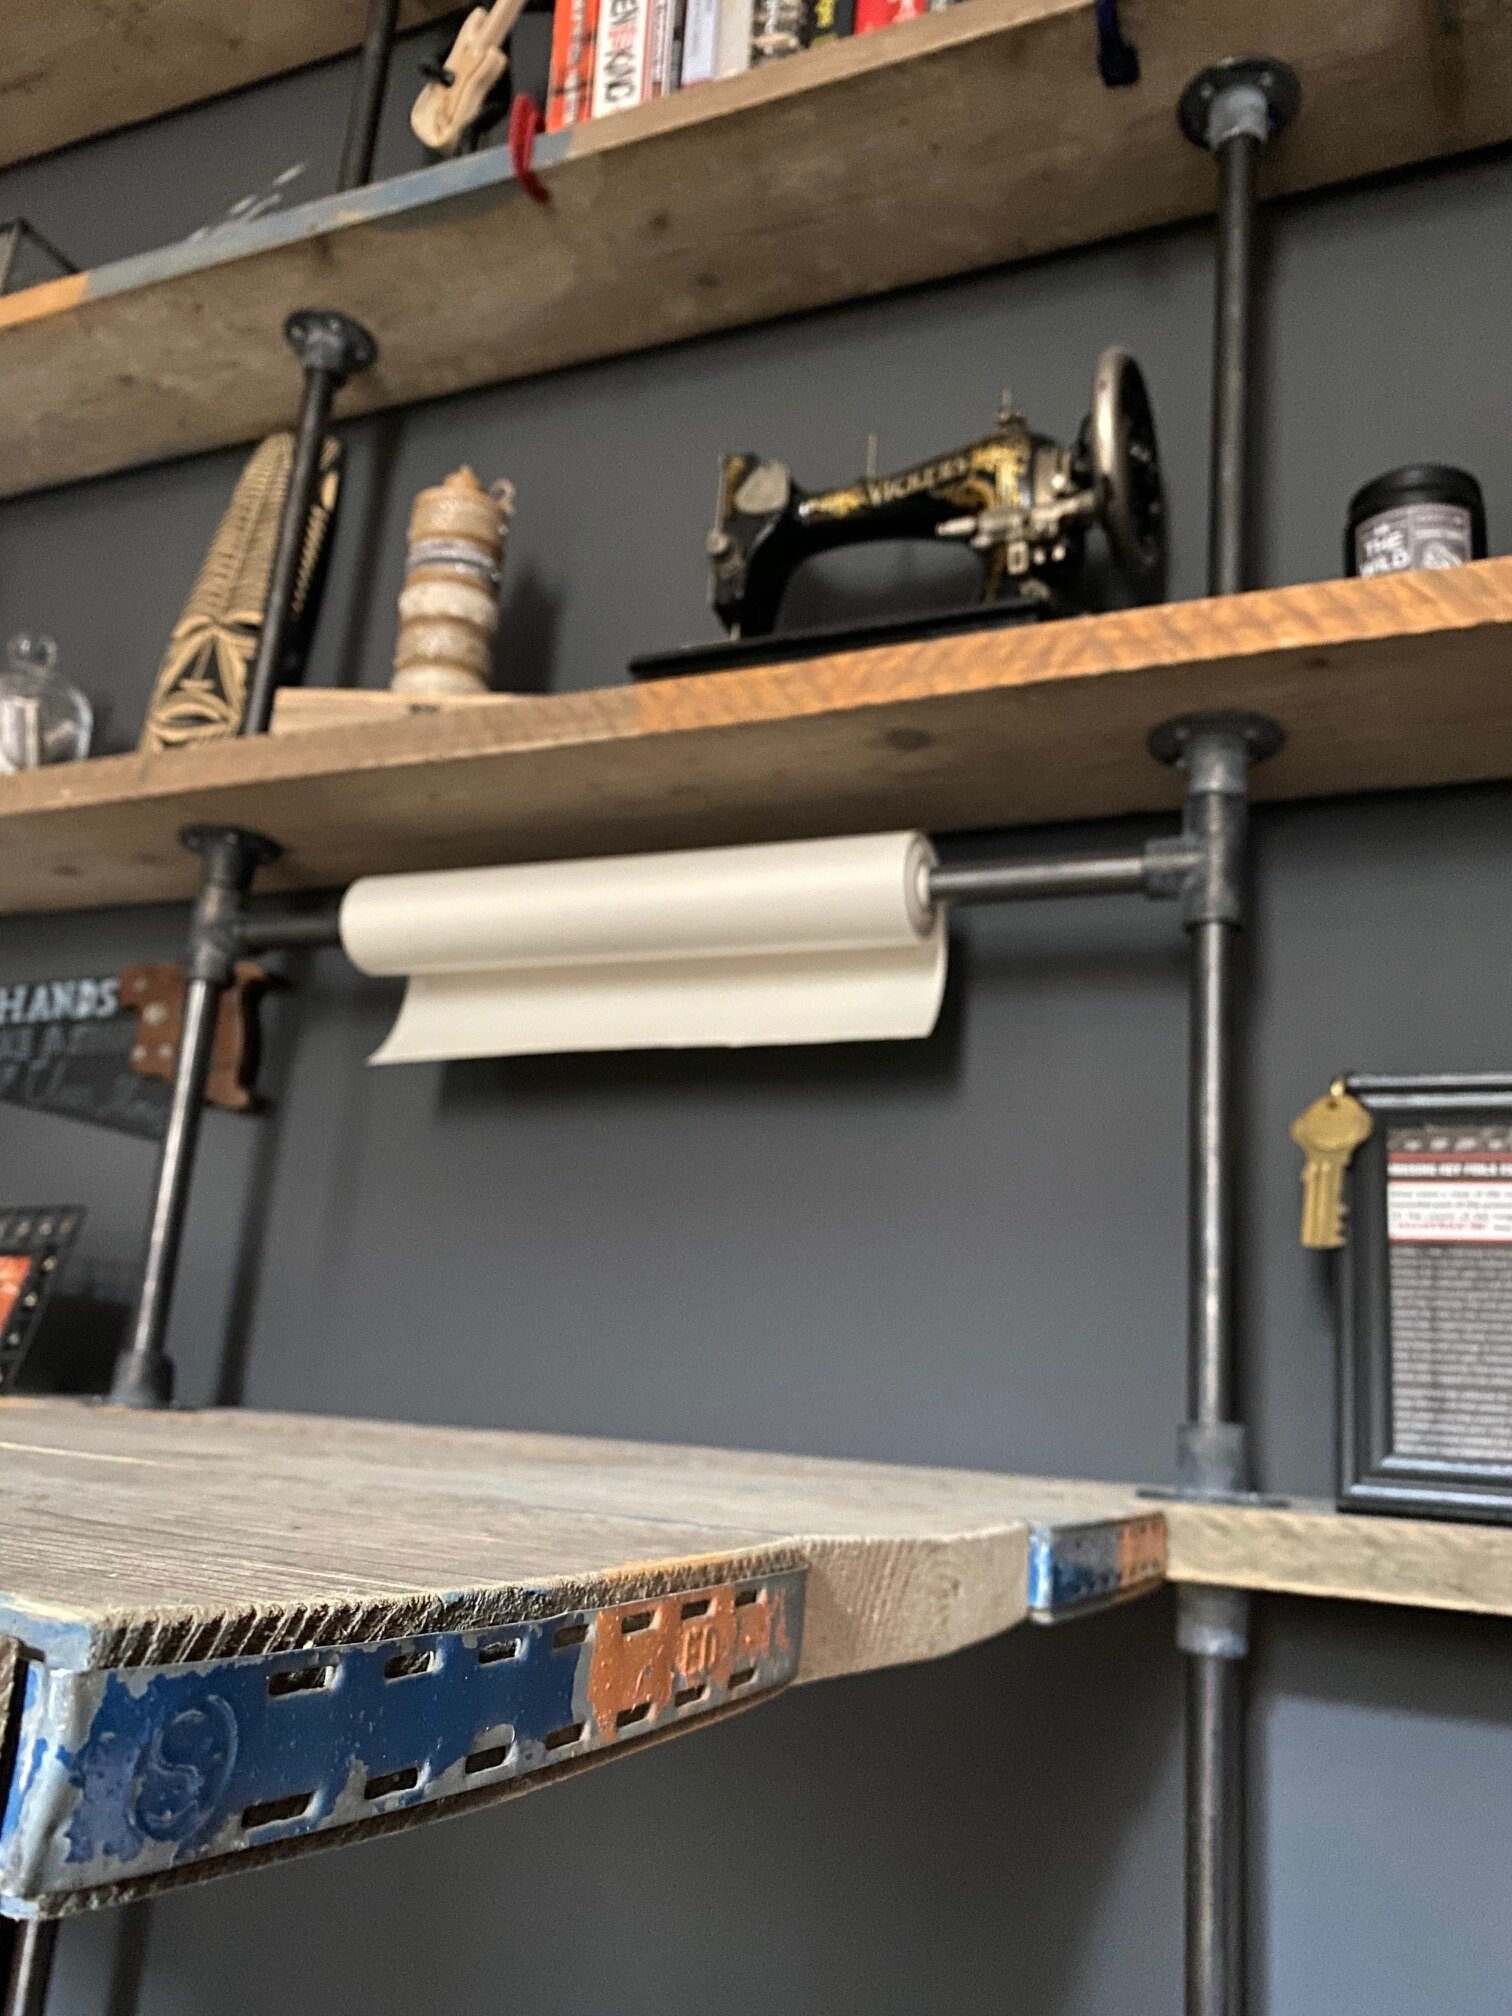
I also wanted to add a holder for a roll of drawing paper. I incorporated that into the middle column so I could unroll it onto my desk. There are loads of great websites you can order steel pipe from these days. I use different suppliers for each project, depending on the style I’m going for. You will likely have to order pipe in lengths of 1.5m, 3m or 6m and distribute your required cuts amongst those lengths. You may have to do some calculations here in order to get the most out of your lengths. Most suppliers offer a cutting service so all you have to do is send in your measurements and they will cut it for you. This service is usually free and will also save you money on shipping costs.


Once you’ve made a sketch of your design and figured out dimensions, you can create a shopping list of items that you’ll need. For this particular bookshelf, I used the following:
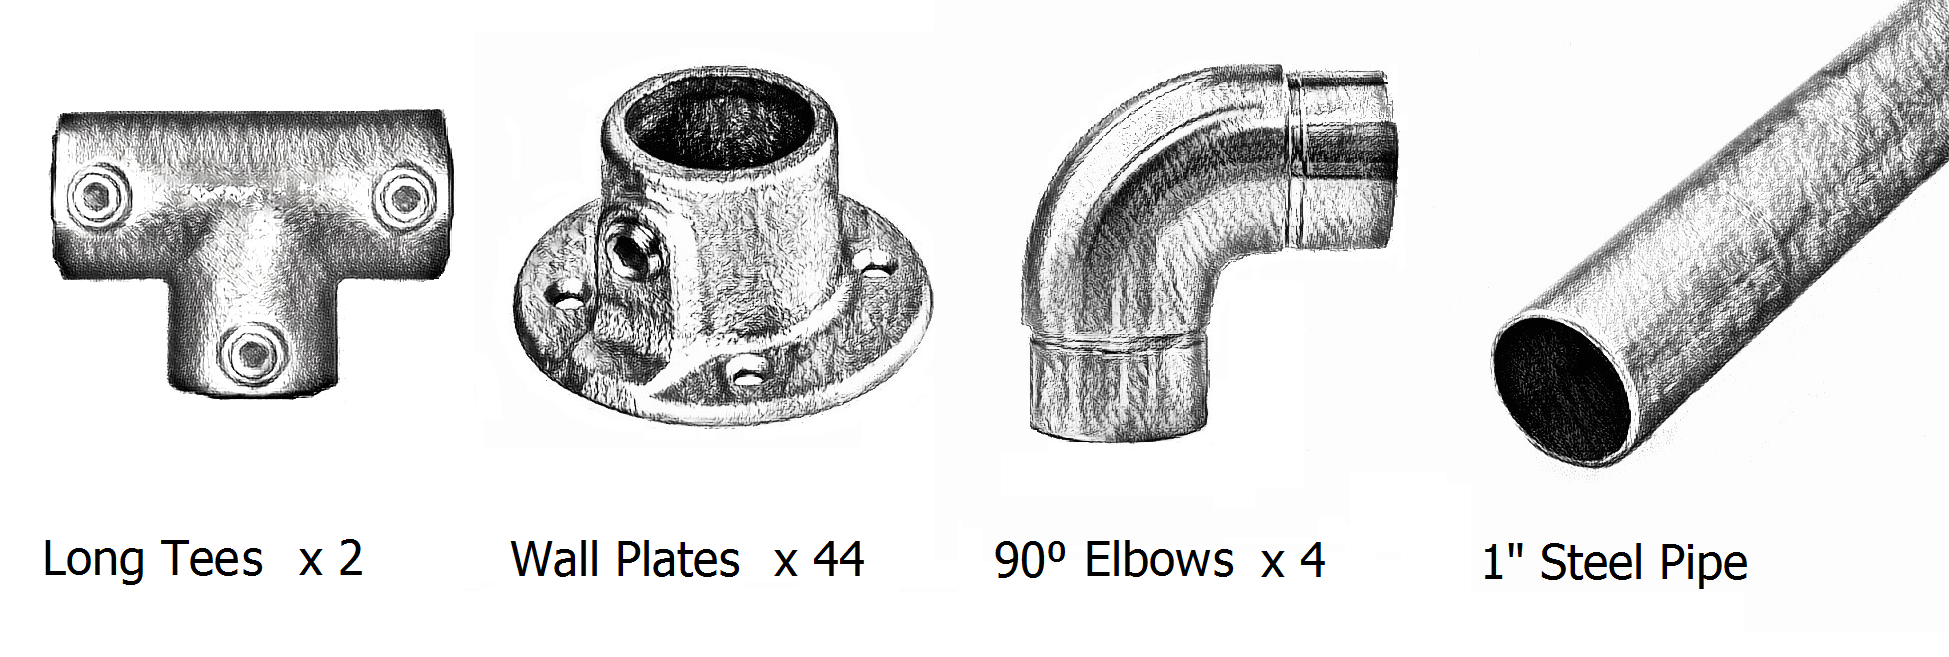

Once your pipe arrives, check the measurements are all correct. Note: the pipe is usually covered in oil and can be really dirty so wear gloves when unpacking it! The pipe and fittings simply tighten together with grub screws. The screws, plus an Allen key should be included with your order. I don’t ever remember having to add these on or order them individually. I used 1” diameter pipe, which proved to be sturdy enough.
In terms of the scaffolding boards, I sourced those from a local scaffolding company for free. Most companies have to get rid of boards that don’t meet appropriate standards so it’s worth asking around. Firstly, I used a brush to get rid of any dirt and dust on the boards. I wanted a rustic look so I didn’t bother trying to sand off the paint. I sanded just enough to smooth out the surface and remove splinters. I focussed more on the edges of the boards, using rough (40 grit) sandpaper, to round them off a bit. I went over everything with steel wool to make them extra smooth. I didn’t seal the boards and I’m still really happy with the finish. You could, however, use wax, Danish oil or varnish.

Scaffolding boards come with metal strips at each end. You can remove them or leave them on. Personally, I like the rustic feel they bring. I kept one on each end, alternating sides. The boards needed to be cut to size, so if I wanted to keep the strips on both ends I would need to remove them and reattach them after the board had been cut. Fortunately, I don’t have OCD in that way so I was happy to save myself from an extra job.

I used a couple of scrap pieces of wood I had in the garage as supports underneath the desk section. I just screwed them up from the under-side in several places to hold the desk together. I wouldn’t sit on it but it holds my computer comfortably.
In summary, here is a comprehensive list of tools and materials you may need:

The total cost of this project was £139. This was basically the cost of the pipe, since the boards were free and I already had all of the tools. Trinkets and accessories not included :)
Let me know in the comments if you’re interested in seeing any of my previous scaffolding/ pipe projects.