How to get that Distressed Aged look when Upcycling Furniture
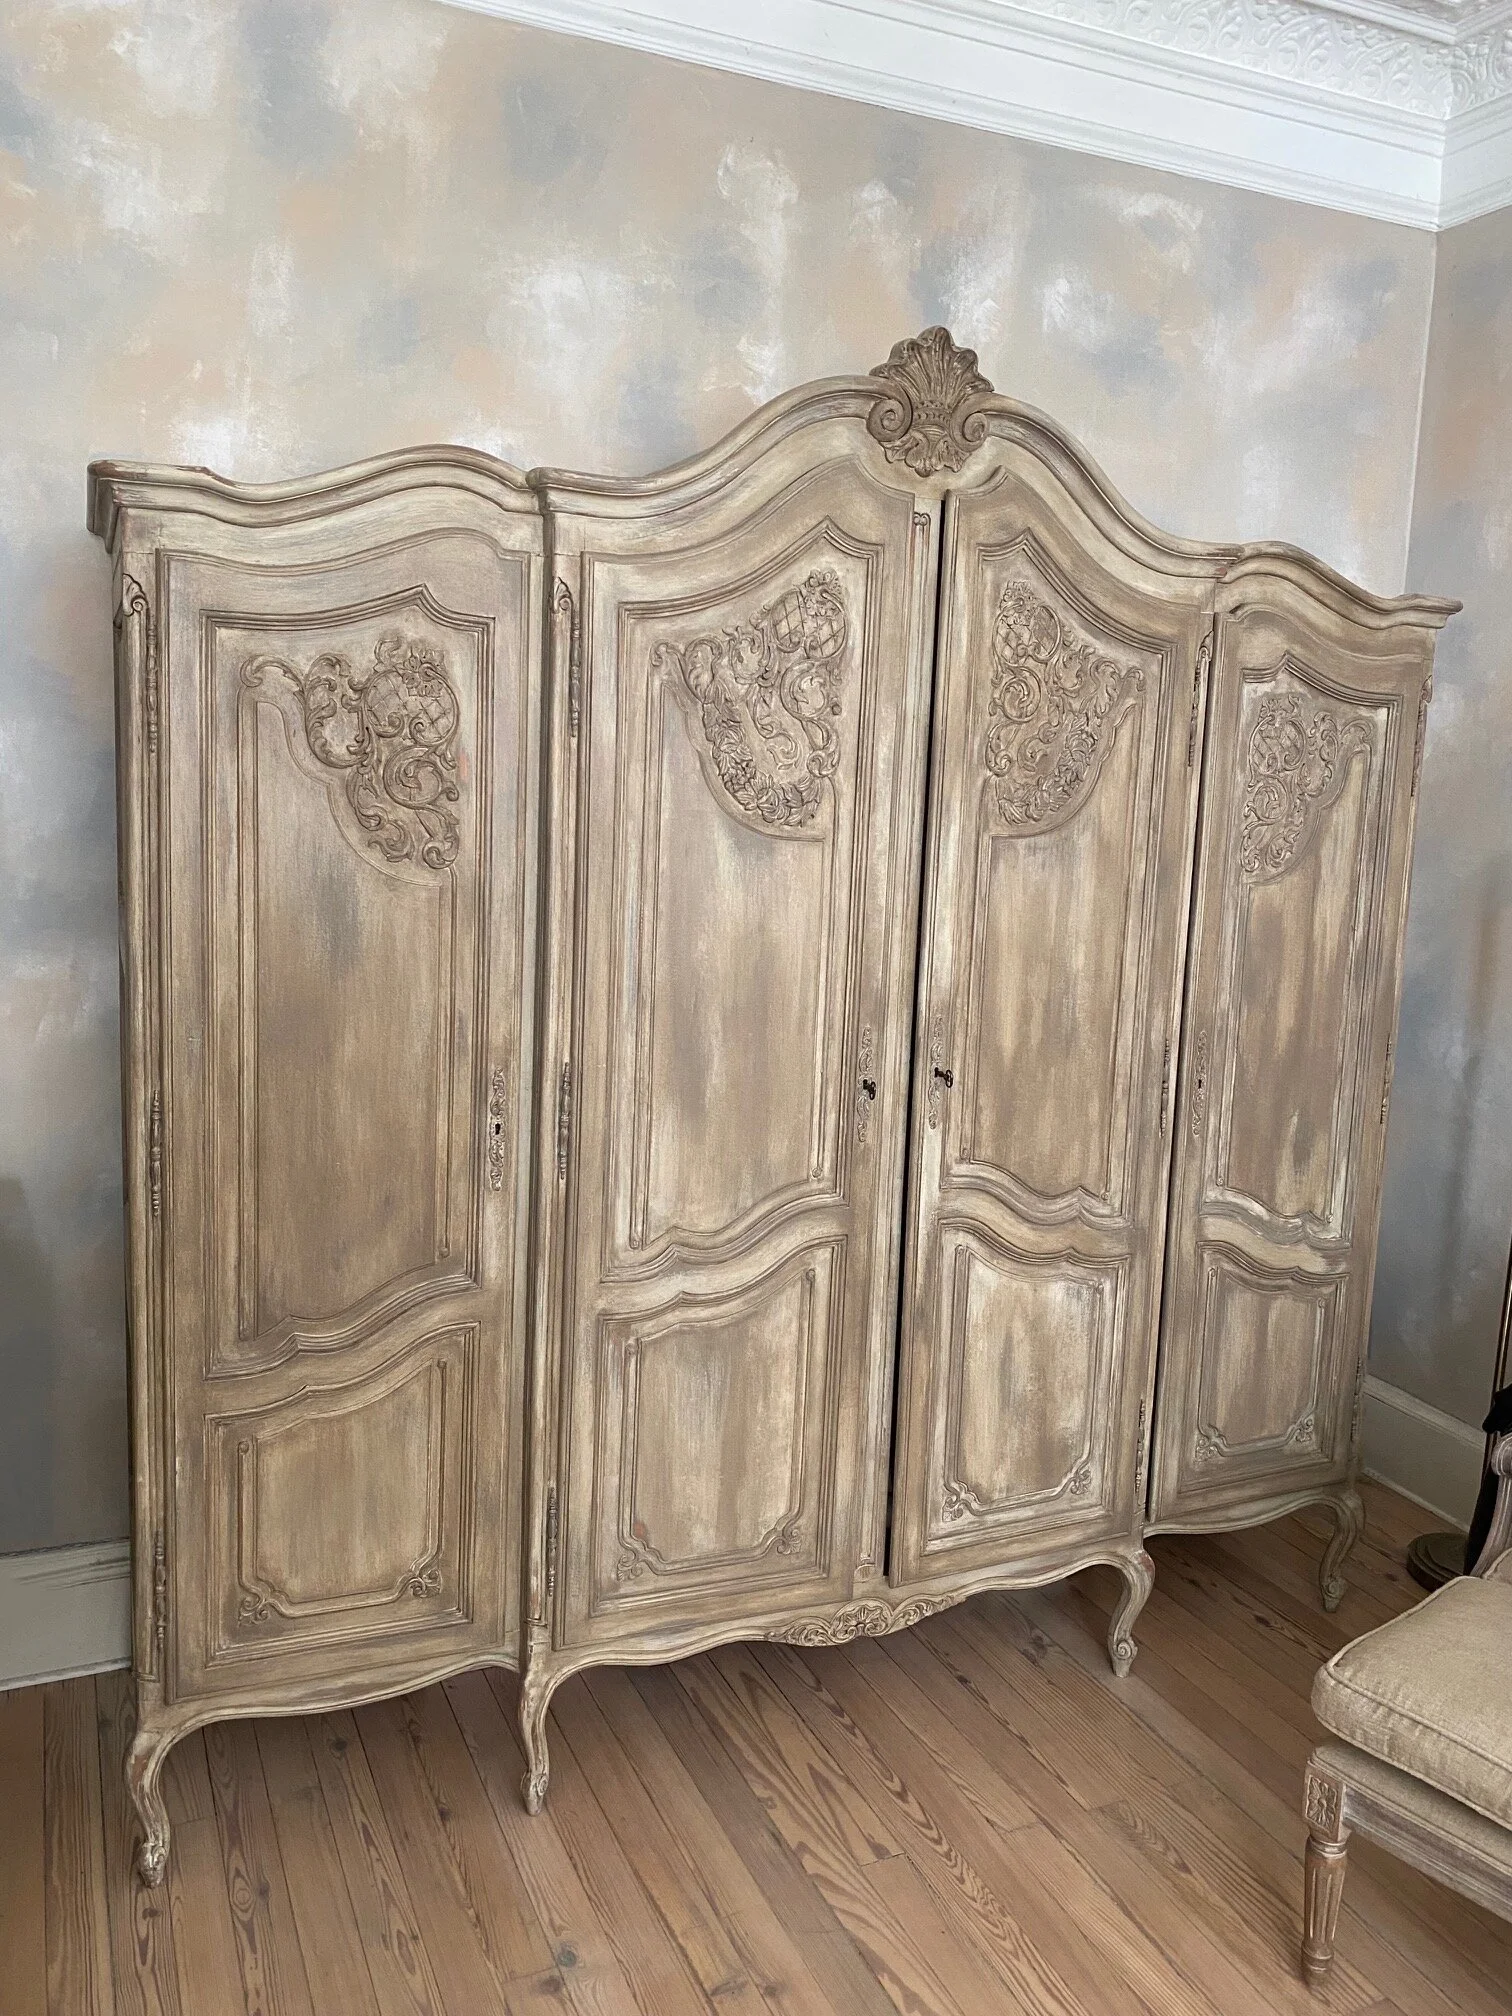
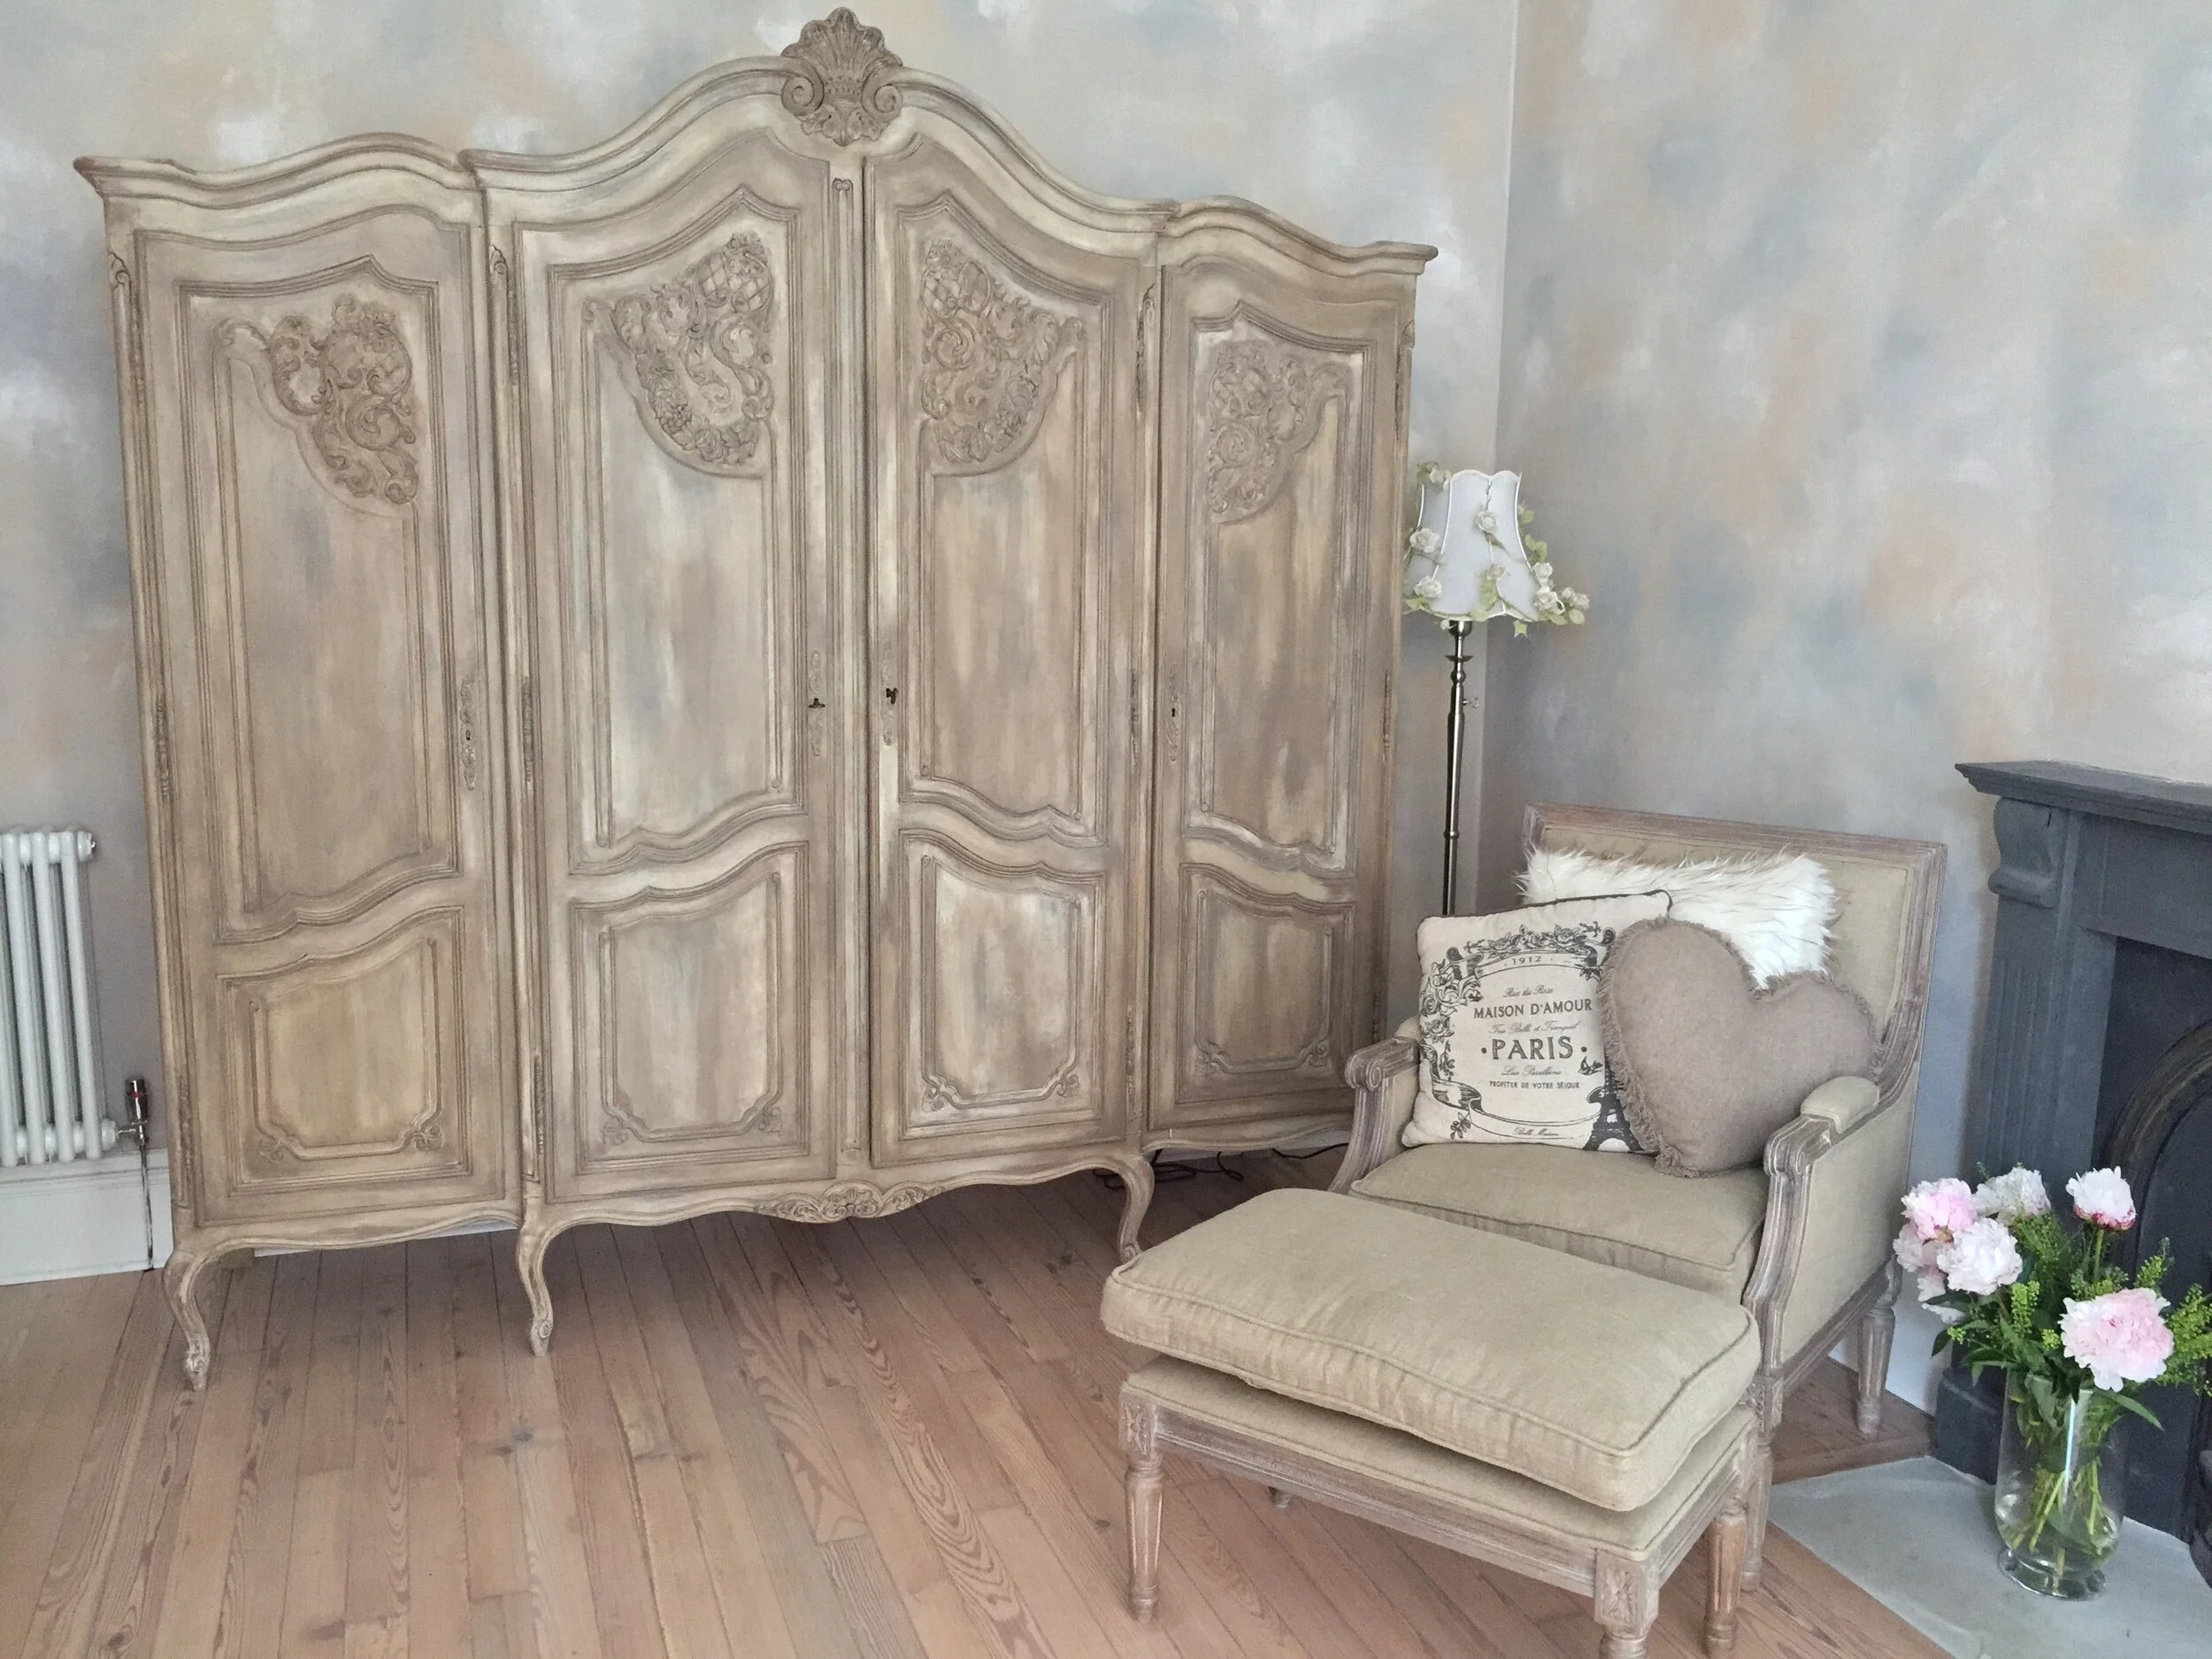
I bought this reproduction wardrobe (or armoire) on Gumtree several years ago. I paid £500 for it. It was really easy to assemble; the base and the top came as separate pieces and everything else slotted in between. The wood was stained in that shiny orange stain… you know the one I mean! I had seen one online that was retailing at £2,000 which was way out of budget so I decided to buy second hand and transform it using chalk paint.
The beauty of chalk paint is that you don’t have to do any prep work. Having used most of the brands available, Annie Sloan is my preference. You can use a different brand, if you prefer; you will achieve a similar result regardless. I chose the colours ‘French Linen’ and ‘Old White’ but you can go for any shades you like. I wanted something greige so that it looked as old worldly French as possible. There are a number of different finishes you can apply to your piece so just go layer by layer and decide what you’re happy with. I have used this method on several items of furniture, including: a wardrobe, a sideboard, a corner cabinet, six chairs, a dining table, a console table, nest of tables and a fire surround. I went through a mad shabby chic phase! This look is very versatile though. You can use it on any type of furniture and you can mix up the colours to suit.
Here is a list of materials that I used for this piece:
• Annie Sloan chalk paint in Old White
• Annie Sloan chalk paint in French Linen
• Paint Brush
• Bucket
• Water
• Annie Sloan Clear Soft Wax
• Annie Sloan Dark Wax
• Wax Brush
• Sugar Soap
• Sponge
• Lint-free rag
• Sandpaper (optional)
I decided not to paint the inside of the wardrobe, as I often do when upcycling anything. A few reasons, namely:
These areas get used the most so they’re more prone to scratching and chipping. Nobody wants to be doing touch-ups every 6 months!
Layers of paint can often ‘bulk up’ shelves or drawers etc. which means they may no longer fit/ slide smoothly.
If you’re on a tight budget then you could probably do with saving a little extra on paint. You’d be surprised how much more paint (and time) you’ll need.

Step 1
Mix a solution of sugar soap with water (according to the instructions on the bottle). Get your sponge and absorb the mixture, then wring it out so that the sponge isn’t dripping. Wipe down your piece of furniture, one section at a time. The idea is to clean off any stains and dust so that the paint takes evenly to the surface. Take this opportunity to clean the inside of your furniture too. Although you’re not painting it, it’s a good idea to do this now.
Step 2
Apply one coat of ‘French Linen’ chalk paint. I bought the chalk paint brush from Annie Sloan. It absorbs a decent amount of paint and covers a larger area at once so I found this method to be the most efficient. I bought the large one which retails at around £29 but you can use any brush for this. Don’t worry too much about getting into the crevasses of your piece. The Armoire I upcycled has lots of details but by dabbing paint into them, you’re taking away from the beauty of it. It’s like adding layers and layers of paint to coving or a ceiling rose; eventually the detail will start to disappear.


Step 3
In a bucket, add some ‘Old White’ chalk paint. Depending on the size of your piece of furniture, add a small amount to start with (about a cup). Then add a small amount of water (about a quarter of the amount of paint). Mix well. This will be your ‘white wash’ layer. Apply over the top of the ‘French Linen’ layer. The white paint should cover the grey but should also look like a cool white. The idea is that, once the wax is applied, it will blend with the top layer (the white) and bring out more of the bottom layer (the grey) so create this distressed, aged look.

Painted Grey

White Washed

Original

Painted Grey

White Washed
Step 4
At this stage, you can use sandpaper or steel wool to create a more distressed look. I sanded some corners and a few of the details. It is up to you how much and where you want to add this. A light sanding exposed all the way through to the original wood so try to use a high grit sandpaper (120 or 240) so that you don’t scratch off too much.


Step 5
This step is the most time consuming part. I wouldn’t necessarily recommend the method I used at this stage but it does give the most ‘antiqued’ finish. There are several ways you can go from here:
Option A. You may be happy with the result at this stage, in which case, you can seal it by applying a clear coat of wax over the top of everything and lightly buff it down with a rag.
Option B. Use some dark wax to add an aged look to some areas of your piece. Use a brush to apply the wax and then buff it down with a rag to get the excess off. Once you’re done with the dark wax accents, apply a clear wax coat over the whole piece to seal it.
The below option is the one I used and I’ll be totally honest, it was tedious! However, I have since upcycled other pieces where I used the same method, the only difference was, I didn’t buff the wax straight after. I let the furniture absorb the wax and once I’d applied the wax mix over the entire piece, I then buffed it down very, very lightly, just to wipe off any excess wax.
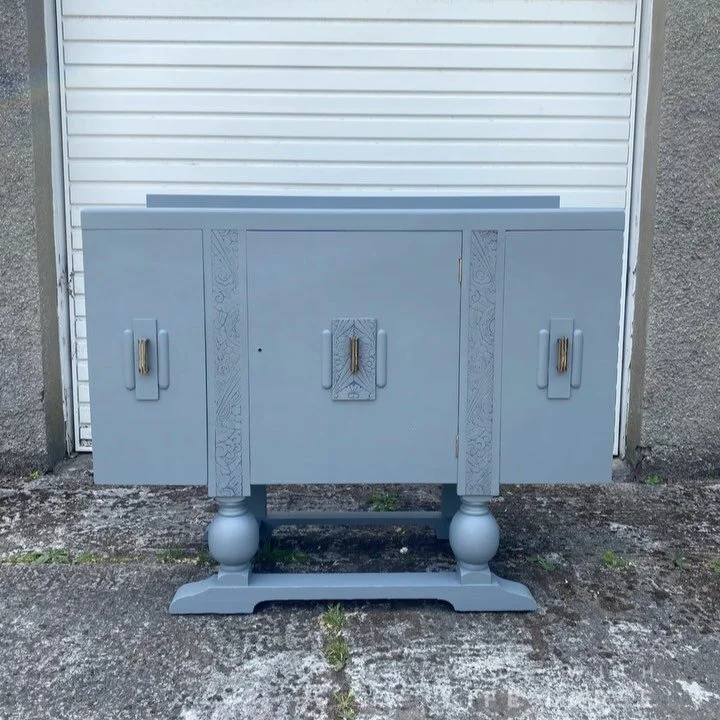
Option C. Mix some clear wax together with some dark wax and a drizzle of the French Linen (grey) paint. I did mostly clear wax, about a quarter was dark wax and the ‘drizzle’ of paint was about one tablespoon. Mix well. I realise it’s starting to sound like a recipe now, but try not to overthink it. The consistency should be a smooth putty (like buttercream). Again, I like to use Annie Sloan’s wax brush but you can use any type of brush here. The ones that look like pencils are best for wax application. What I did was apply the wax mixture with the brush and try to spread it as far as it will go. I used a cotton rag (Graeme’s old boxer shorts) to buff it down straight after. I repeated this process, one section at a time. I buffed really hard until the wax was shiny and fully absorbed. This part took me three whole days to complete and it took its toll on my arm. The fact that it’s a four door wardrobe didn’t help! So, if you have a smaller piece then it might be worth trying this technique.

Wax Mix

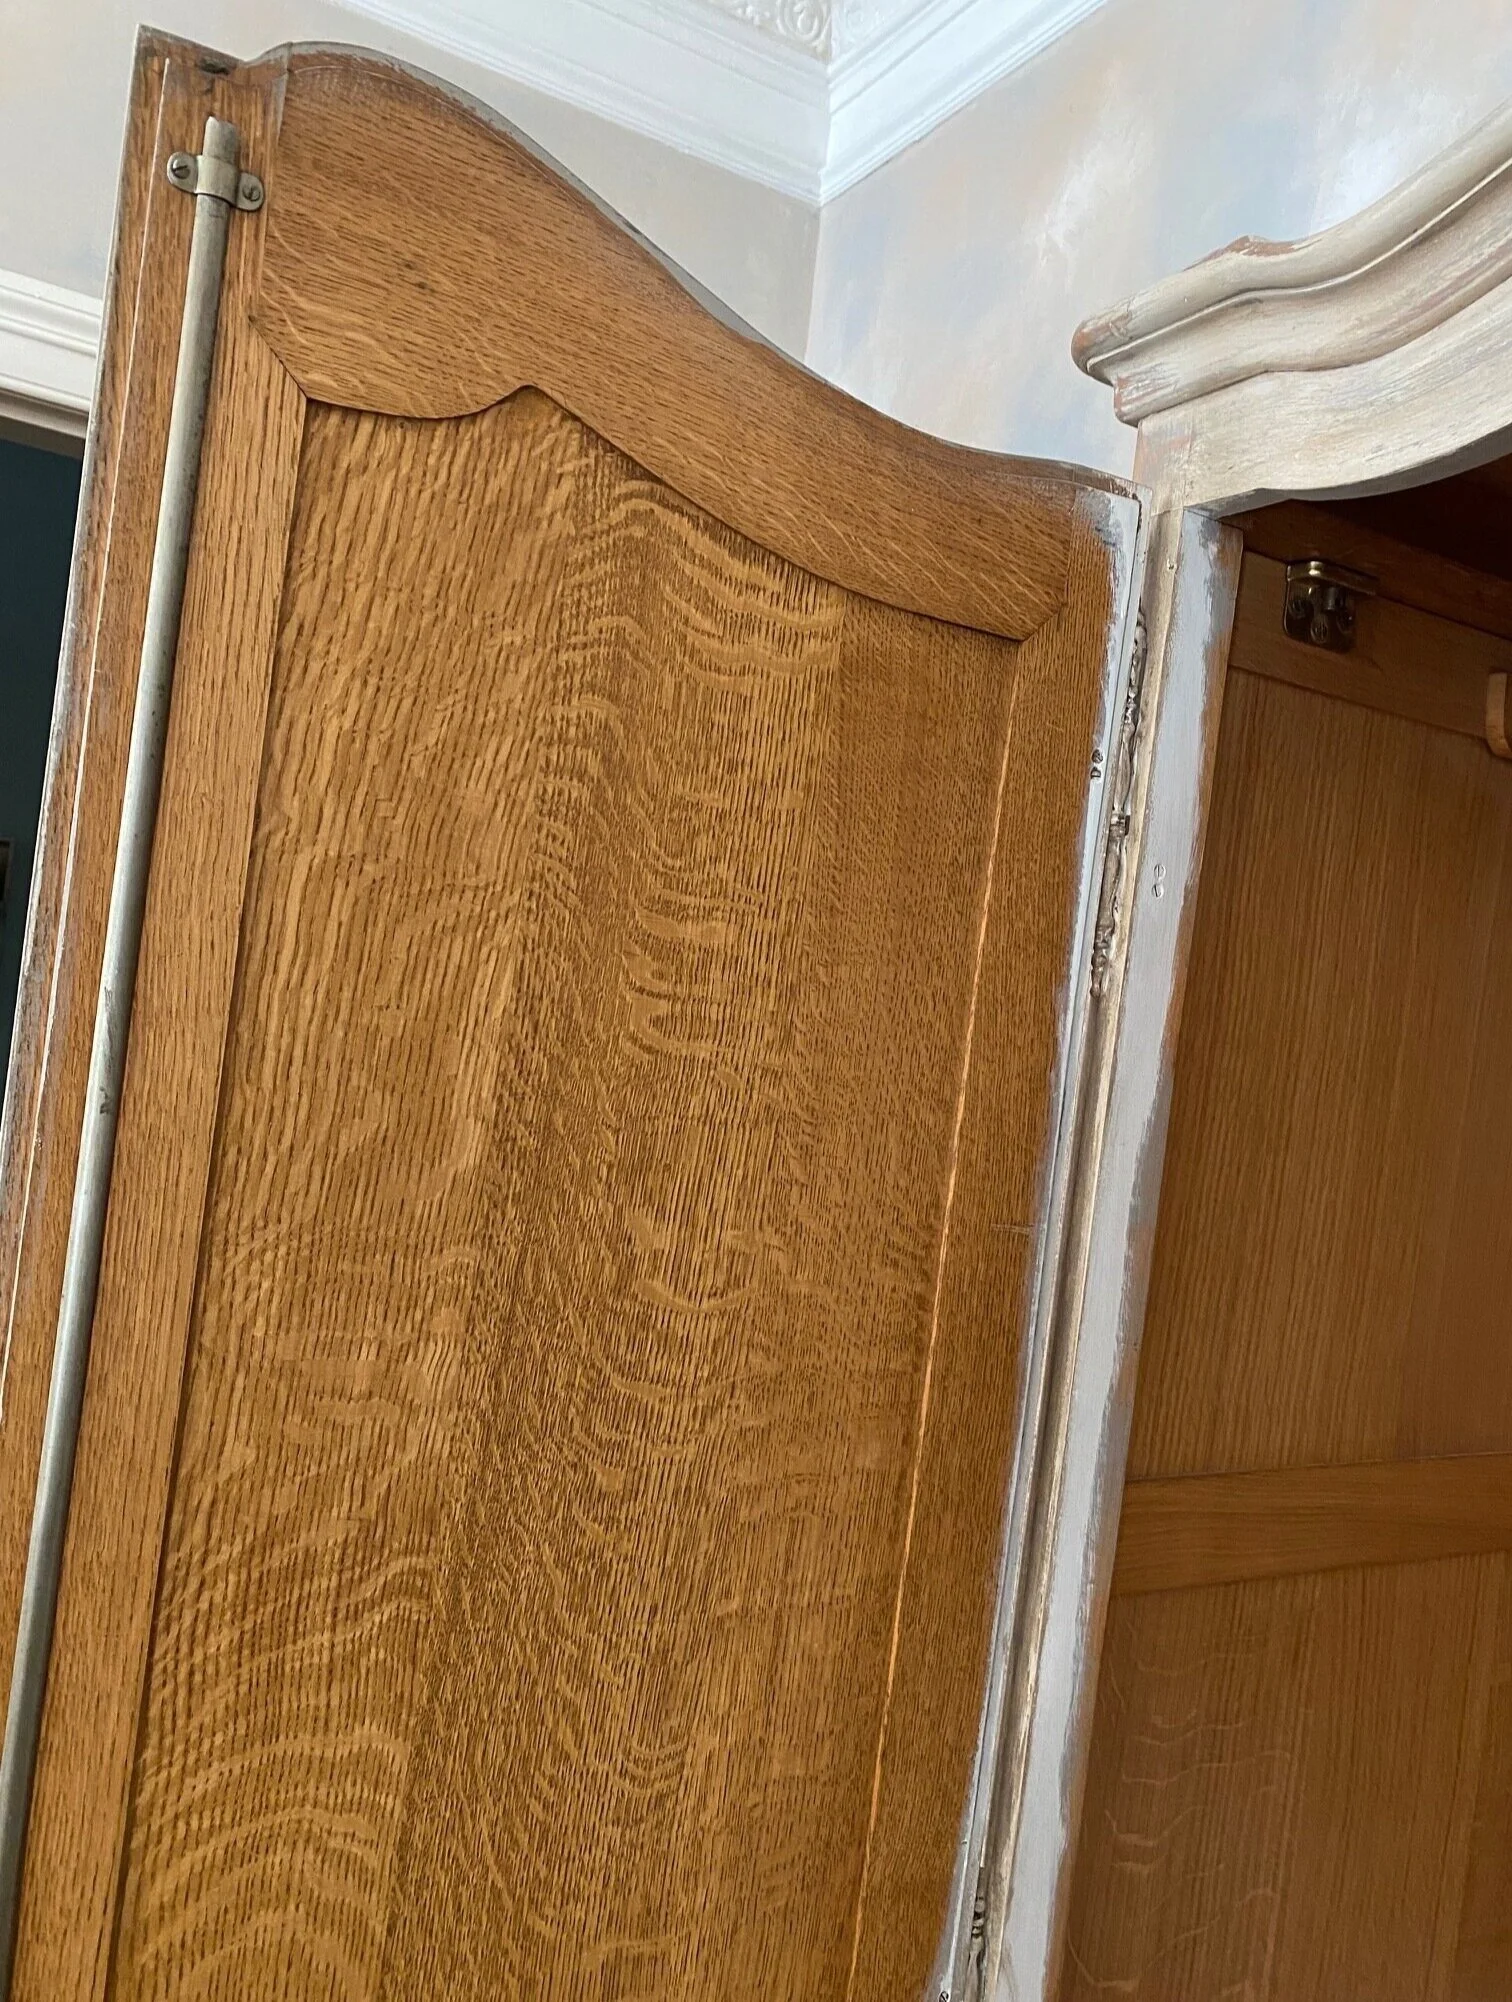
Before

After
In summary, I made it tough on myself by buffing too hard. Once I’d completed one section, I didn’t look back. So, if you’re desperate to recreate this exact look then that’s how it’s done, but if you start and decide it’s too time-consuming then don’t worry! You can paint over wax with chalk paint, so just layer the paint over the wax – grey first then white wash, and re-apply the wax mix over the top once it’s all dry. Then, buff it lightly instead.
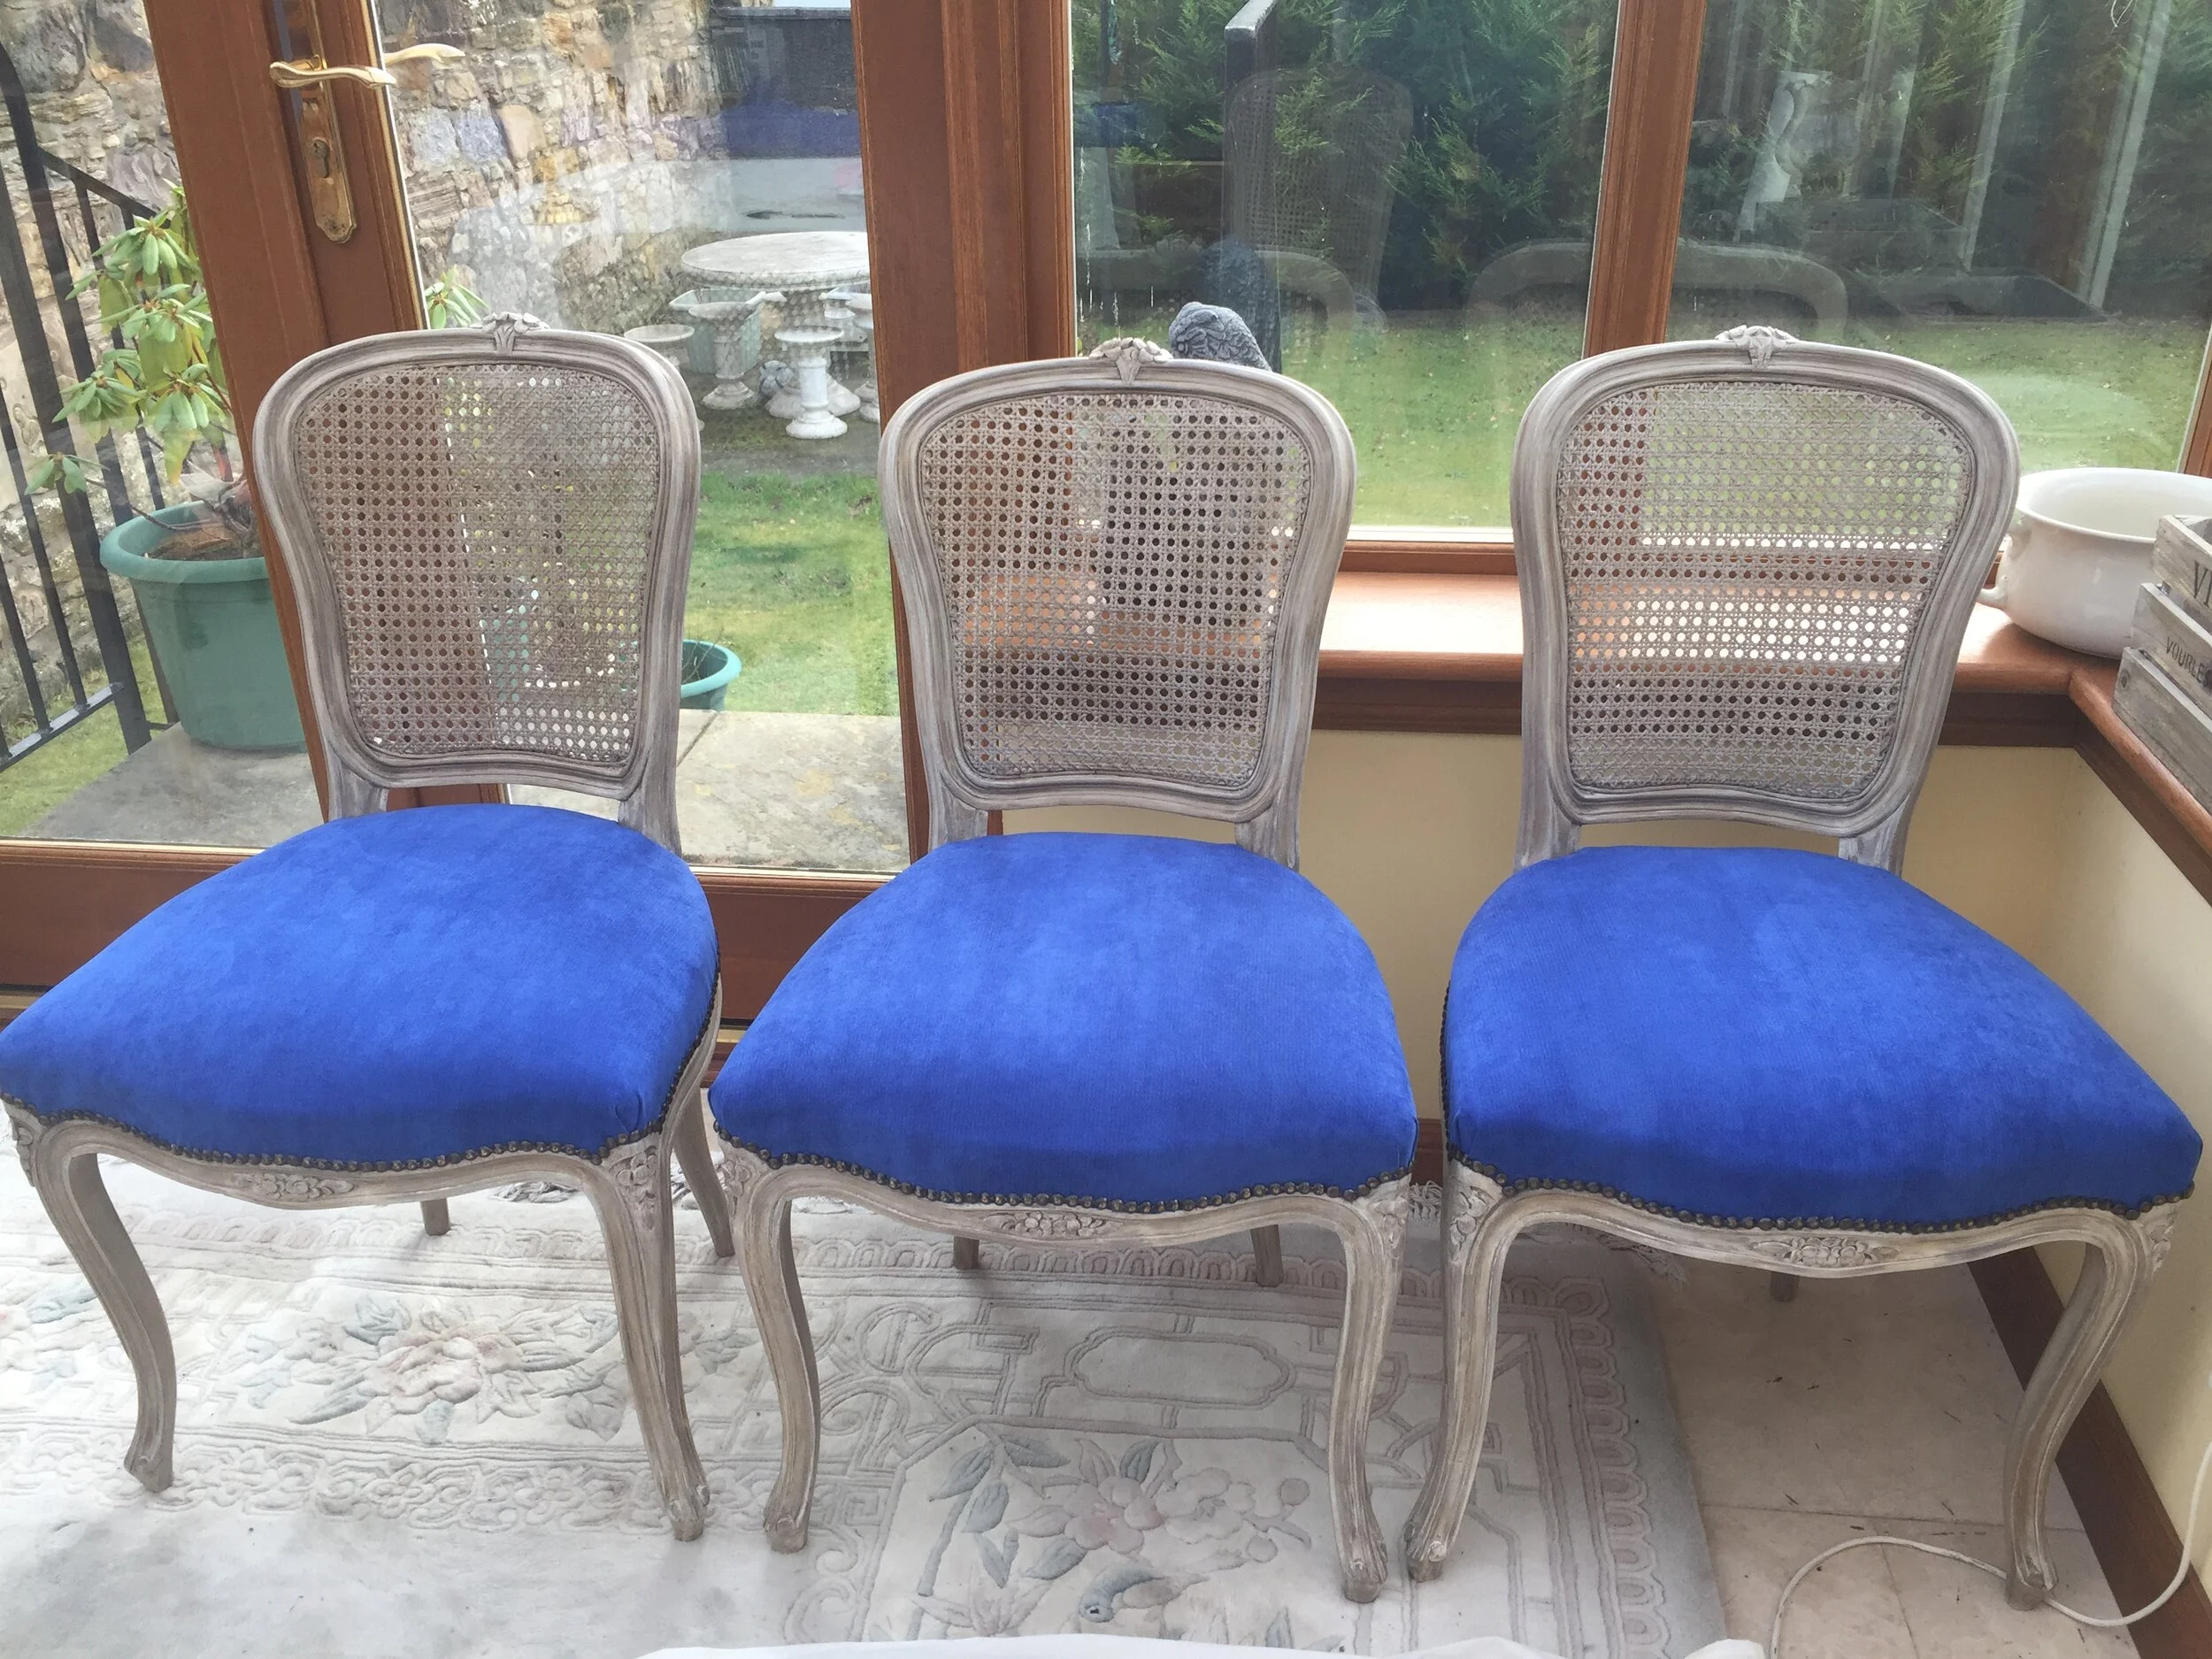
I upcycled six chairs using this technique; four of these plus two carvers