How to Decorate Easter Eggs using Natural Dyes
Easter isn’t cancelled yet! This year, save some cash and decorate your eggs the old-fashioned way: with items you already have in your home. If you’re trying to be more sustainable and keep your household waste-free then this is an Easter DIY for you. How you display your creations is up to you; create an egg hunt in the garden for the kids or construct a pretty vignette.

When I was a kid, mum taught me this method where you attach leaves to the eggs before dyeing them, so that the leaf print is left undyed. We would forage for leaves and flowers and bring them home to experiment on the eggs. Some were too flimsy and didn’t take very well so we eventually worked out which types to search for. Even if the exact print doesn’t show (which happens a lot) they make some interesting patterns. You can even use pressed flowers.

Mums eggs

My mum only ever used yellow onion skins to create maroon eggs but you can experiment with all sorts. I used red onion skins to make dark brown eggs; yellow onion skins to make orange eggs; camomile tea to make yellow eggs; red wine to make lavender eggs; the juice from pickled beets to make pink eggs and frozen blueberries to make blue eggs. Red cabbage is also a good ingredient for blue eggs, I just didn’t have any in the house. You can make green eggs by dying eggs yellow and then giving them a blue bath for 10 minutes. I trialled turmeric and chilli powder and DO NOT recommend either. The turmeric didn’t take and the chilli powder made me sneeze!
You will need:
Eggs
Sheer tights (I used 15 denier)
Scissors
Cooking pots (ones you’re not precious about)
Distilled white vinegar
Leaves and flowers
Natural materials for dyeing

Method:
Firstly, hard boil all the eggs you wish to use.
For red onions, yellow onions and frozen blueberries:
Add 900ml of water to a pot and bring to a boil. Add 2 tablespoons of vinegar and one of the desired dye ingredients and lower the heat to a simmer for 30 minutes. I used three different pots and had them running at the same time. I used the skin of four yellow onions; the skin of three red onions and 500g of frozen blueberries.


Let the pots cool. In the meantime, decorate your eggs with the leaves or flowers. Hold the leaf in place, against the egg, with your finger. You can turn the tights inside-out with your hand inside them then insert the egg and pull the tights over the egg. This is the fiddly part. If the leaf moves out of place then just re-arrange it through the mesh with your fingernail. Secure the tights at the other end by tying a knot and pulling it tight. Cut the tights just after the knot then tie another knot in the offcut and repeat this process.

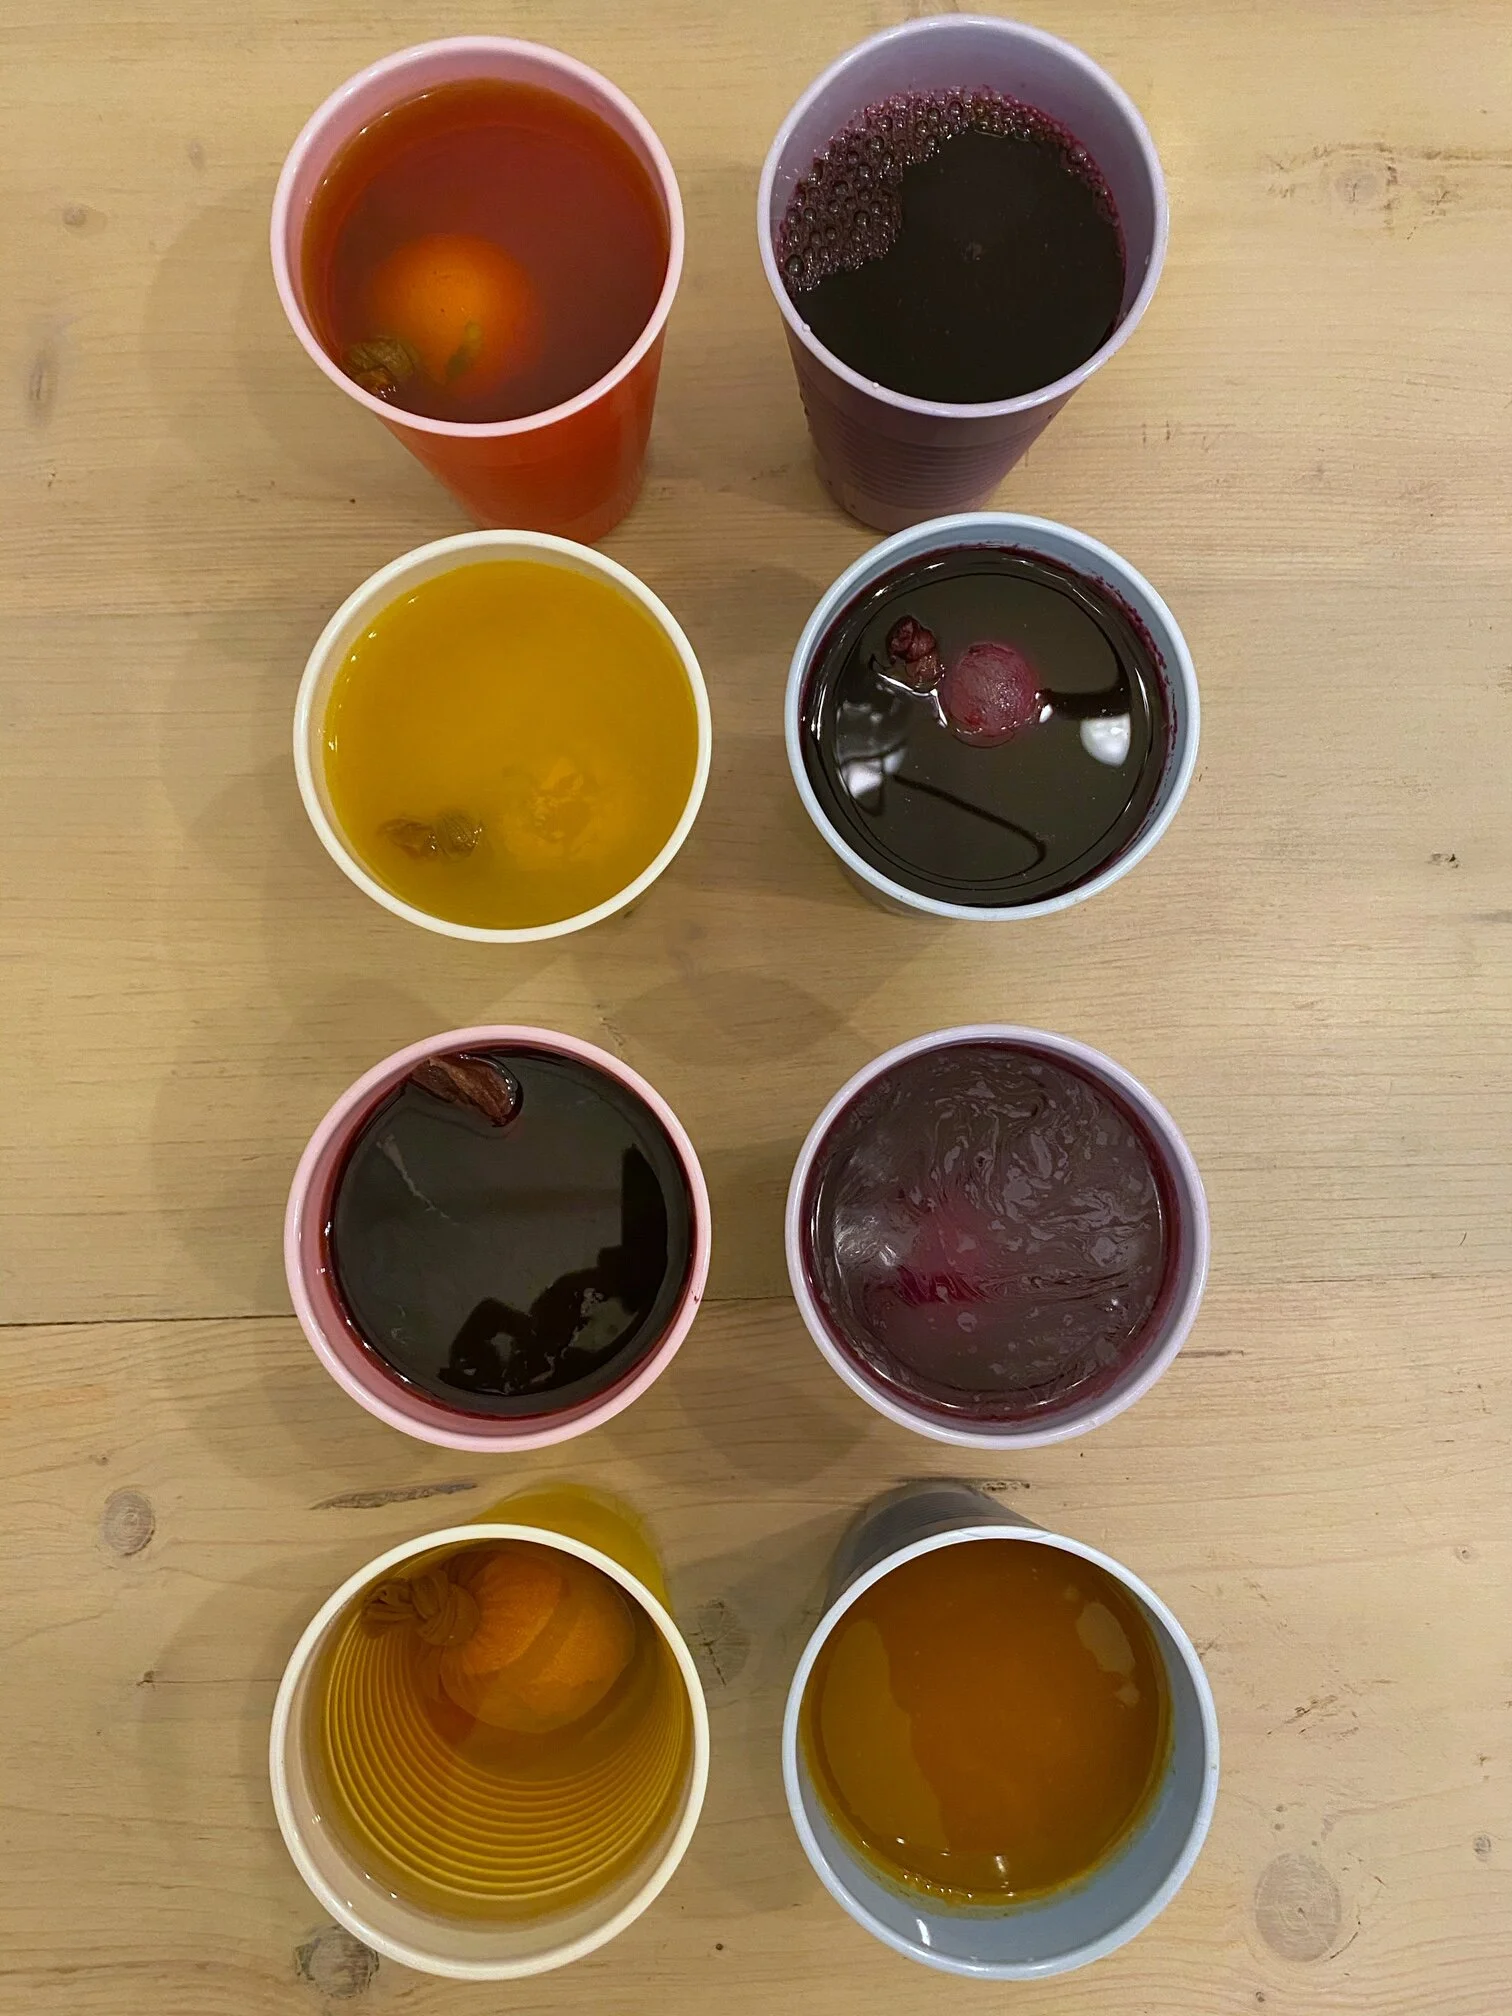
Once the pots have cooled, strain the dye into a bowl, jar or cup. Add the eggs and let soak for at least an hour. For a more vibrant colour, let it soak overnight in the fridge. I used brown eggs which give more earthy colours but you can use white eggs for bolder colours.
For the camomile tea, red wine and pickled beets:
Add each dye ingredient straight into a cup or bowl (make up a normal cup of camomile tea), add one tablespoon of vinegar and soak the eggs in the fridge overnight.
When you’re removing the eggs from the dye, make sure you’re wearing gloves, or you can use tongs. Leave them to rest in an egg box or a paper towel. The colour sometimes changes slightly once the egg is dry.


If you want to experiment with colour intensity then you can try boiling the eggs with the dye. Cook the dye for 30 minutes and add the eggs towards the end; the heat allows the dye to saturate the shells, giving a stronger, more even colour. I’ve shown you mine so now show me yours…