Home Transformation - Bathroom Before and After
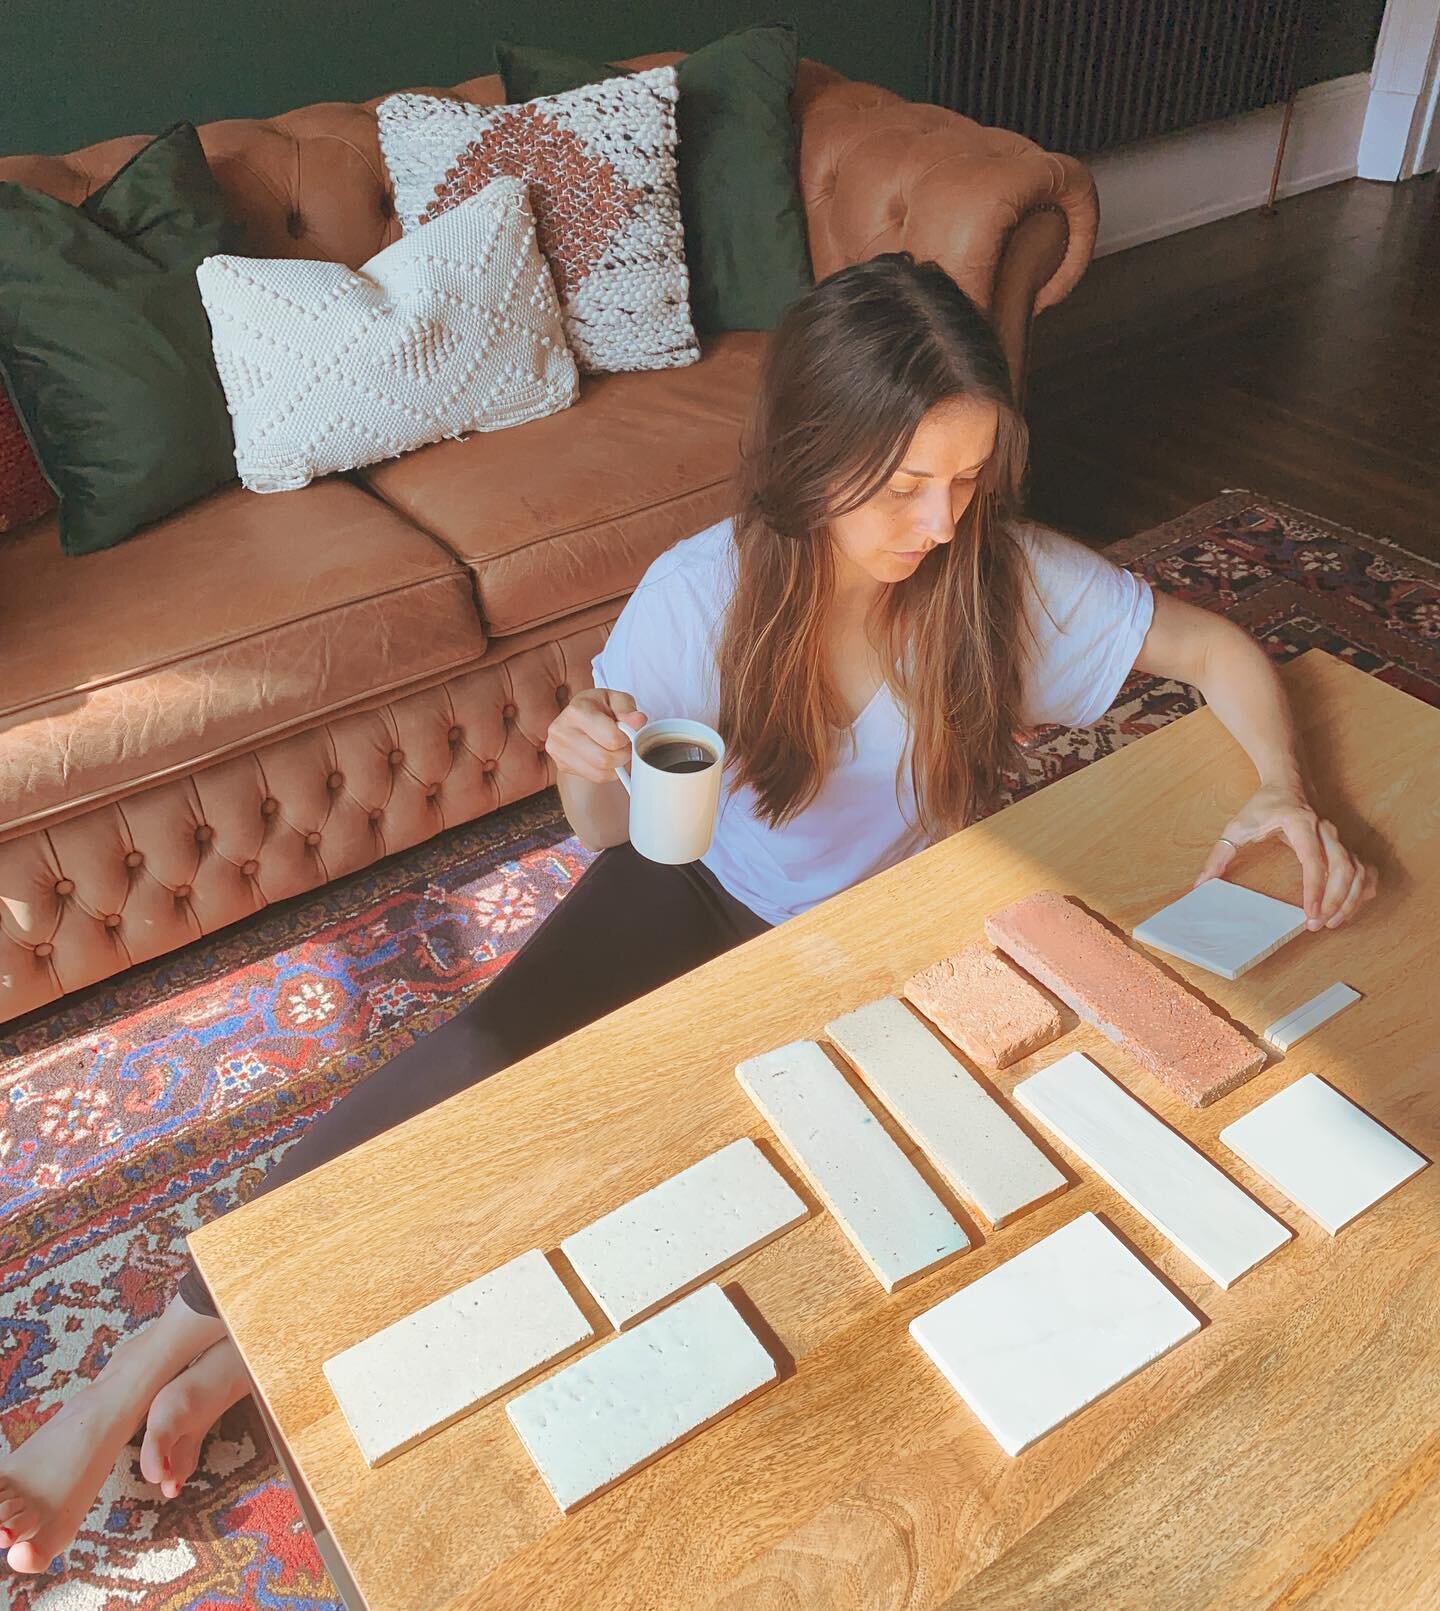
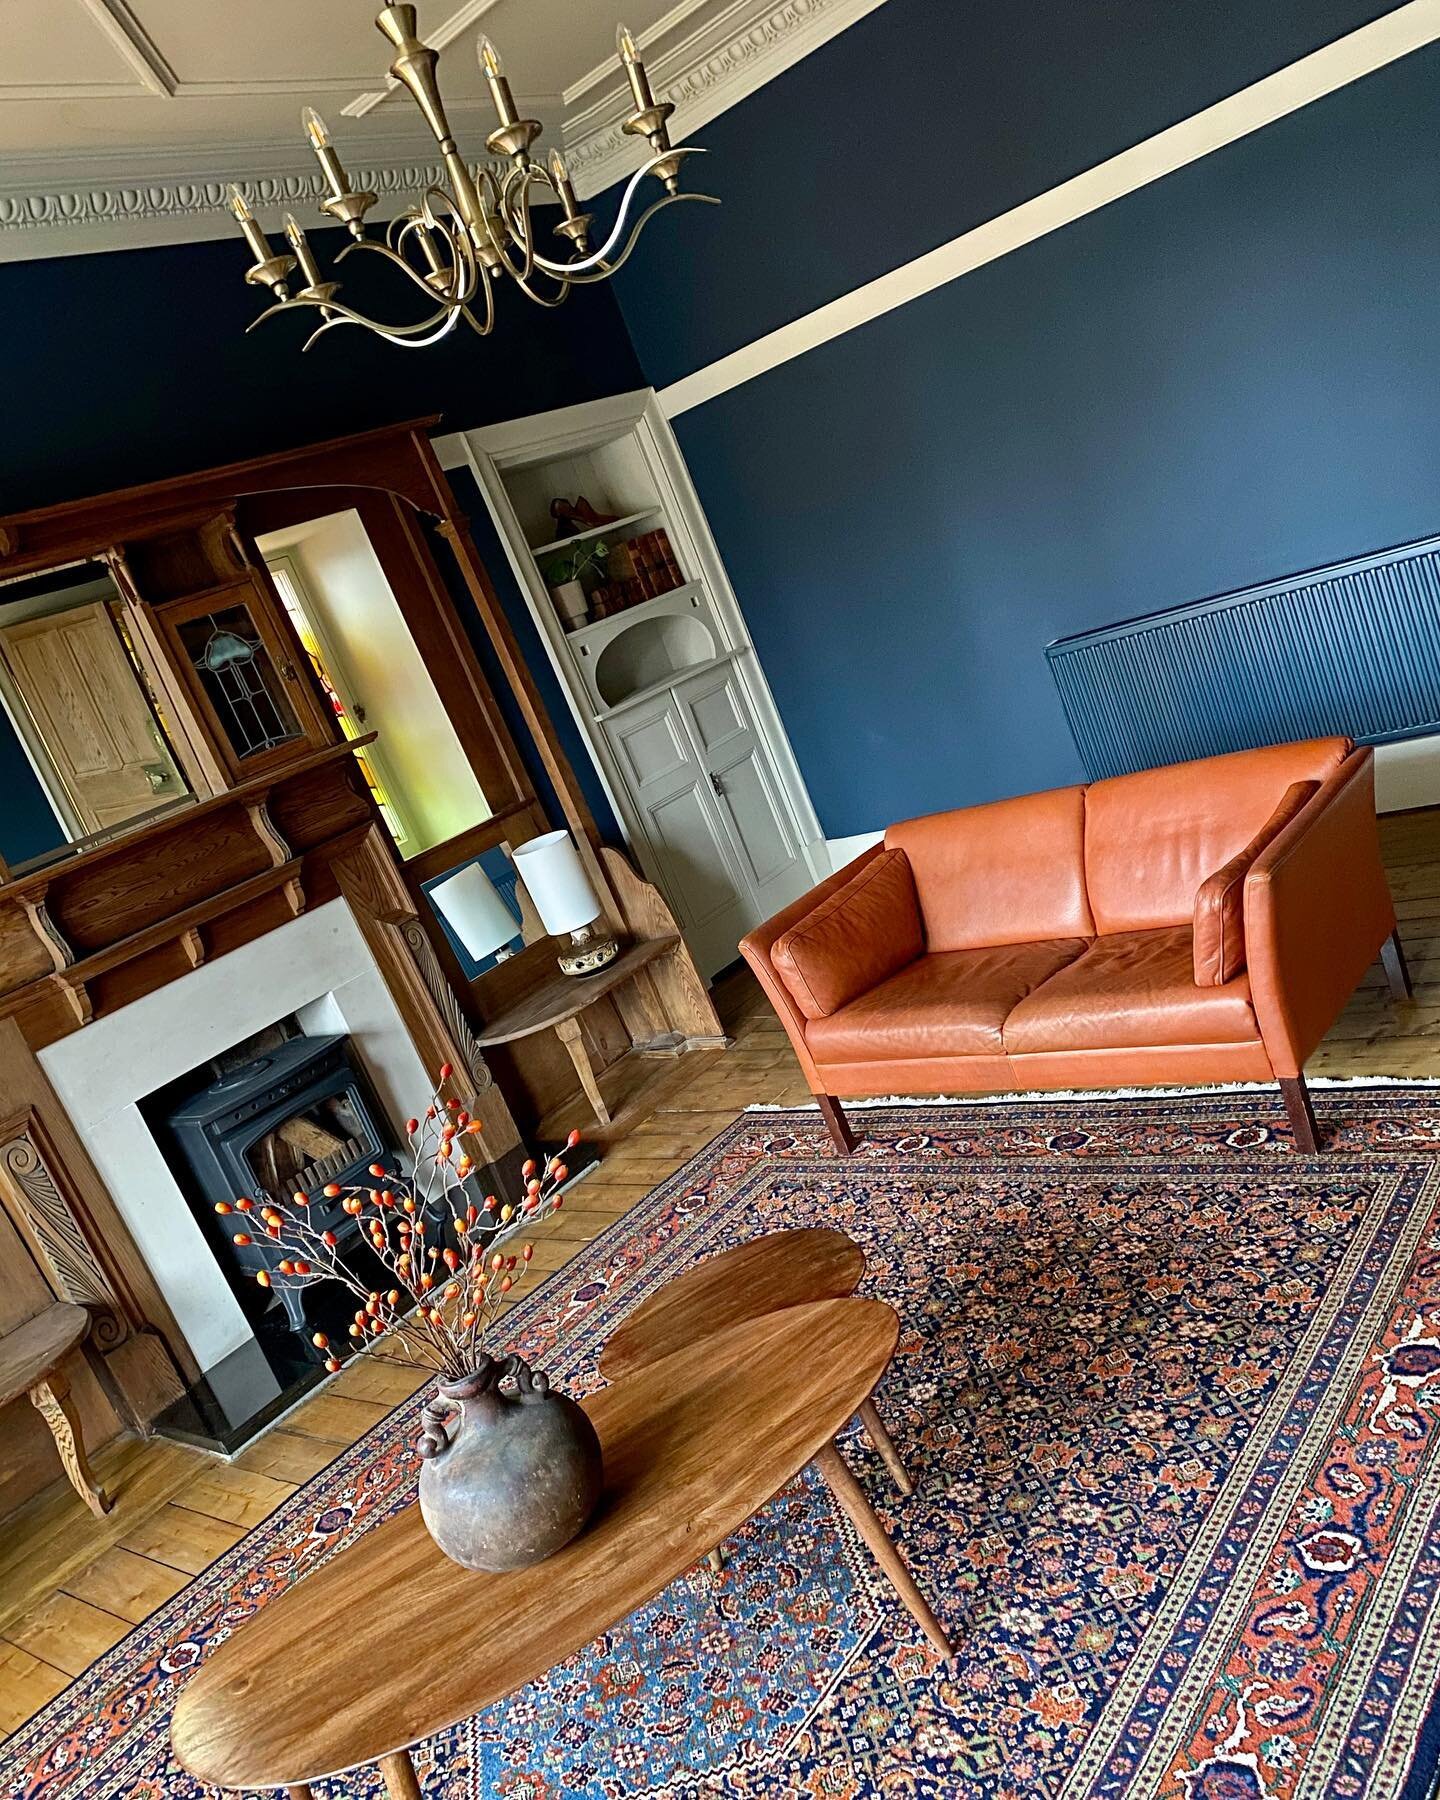
I tend to tackle bathroom decor with a single starting point, such as a tile I love or a particular bath, and then work the rest based on that. I knew I wanted ‘concrete’ walls so that was the starting point for me here. There is a partition in the bathroom that separates the bath and toilet from the vanity area. It doesn’t reach the ceiling and it has a door with some stained glass panels in it. It’s a beautiful original feature that has green tones in it, so I added green touches throughout to compliment that.

Before
After
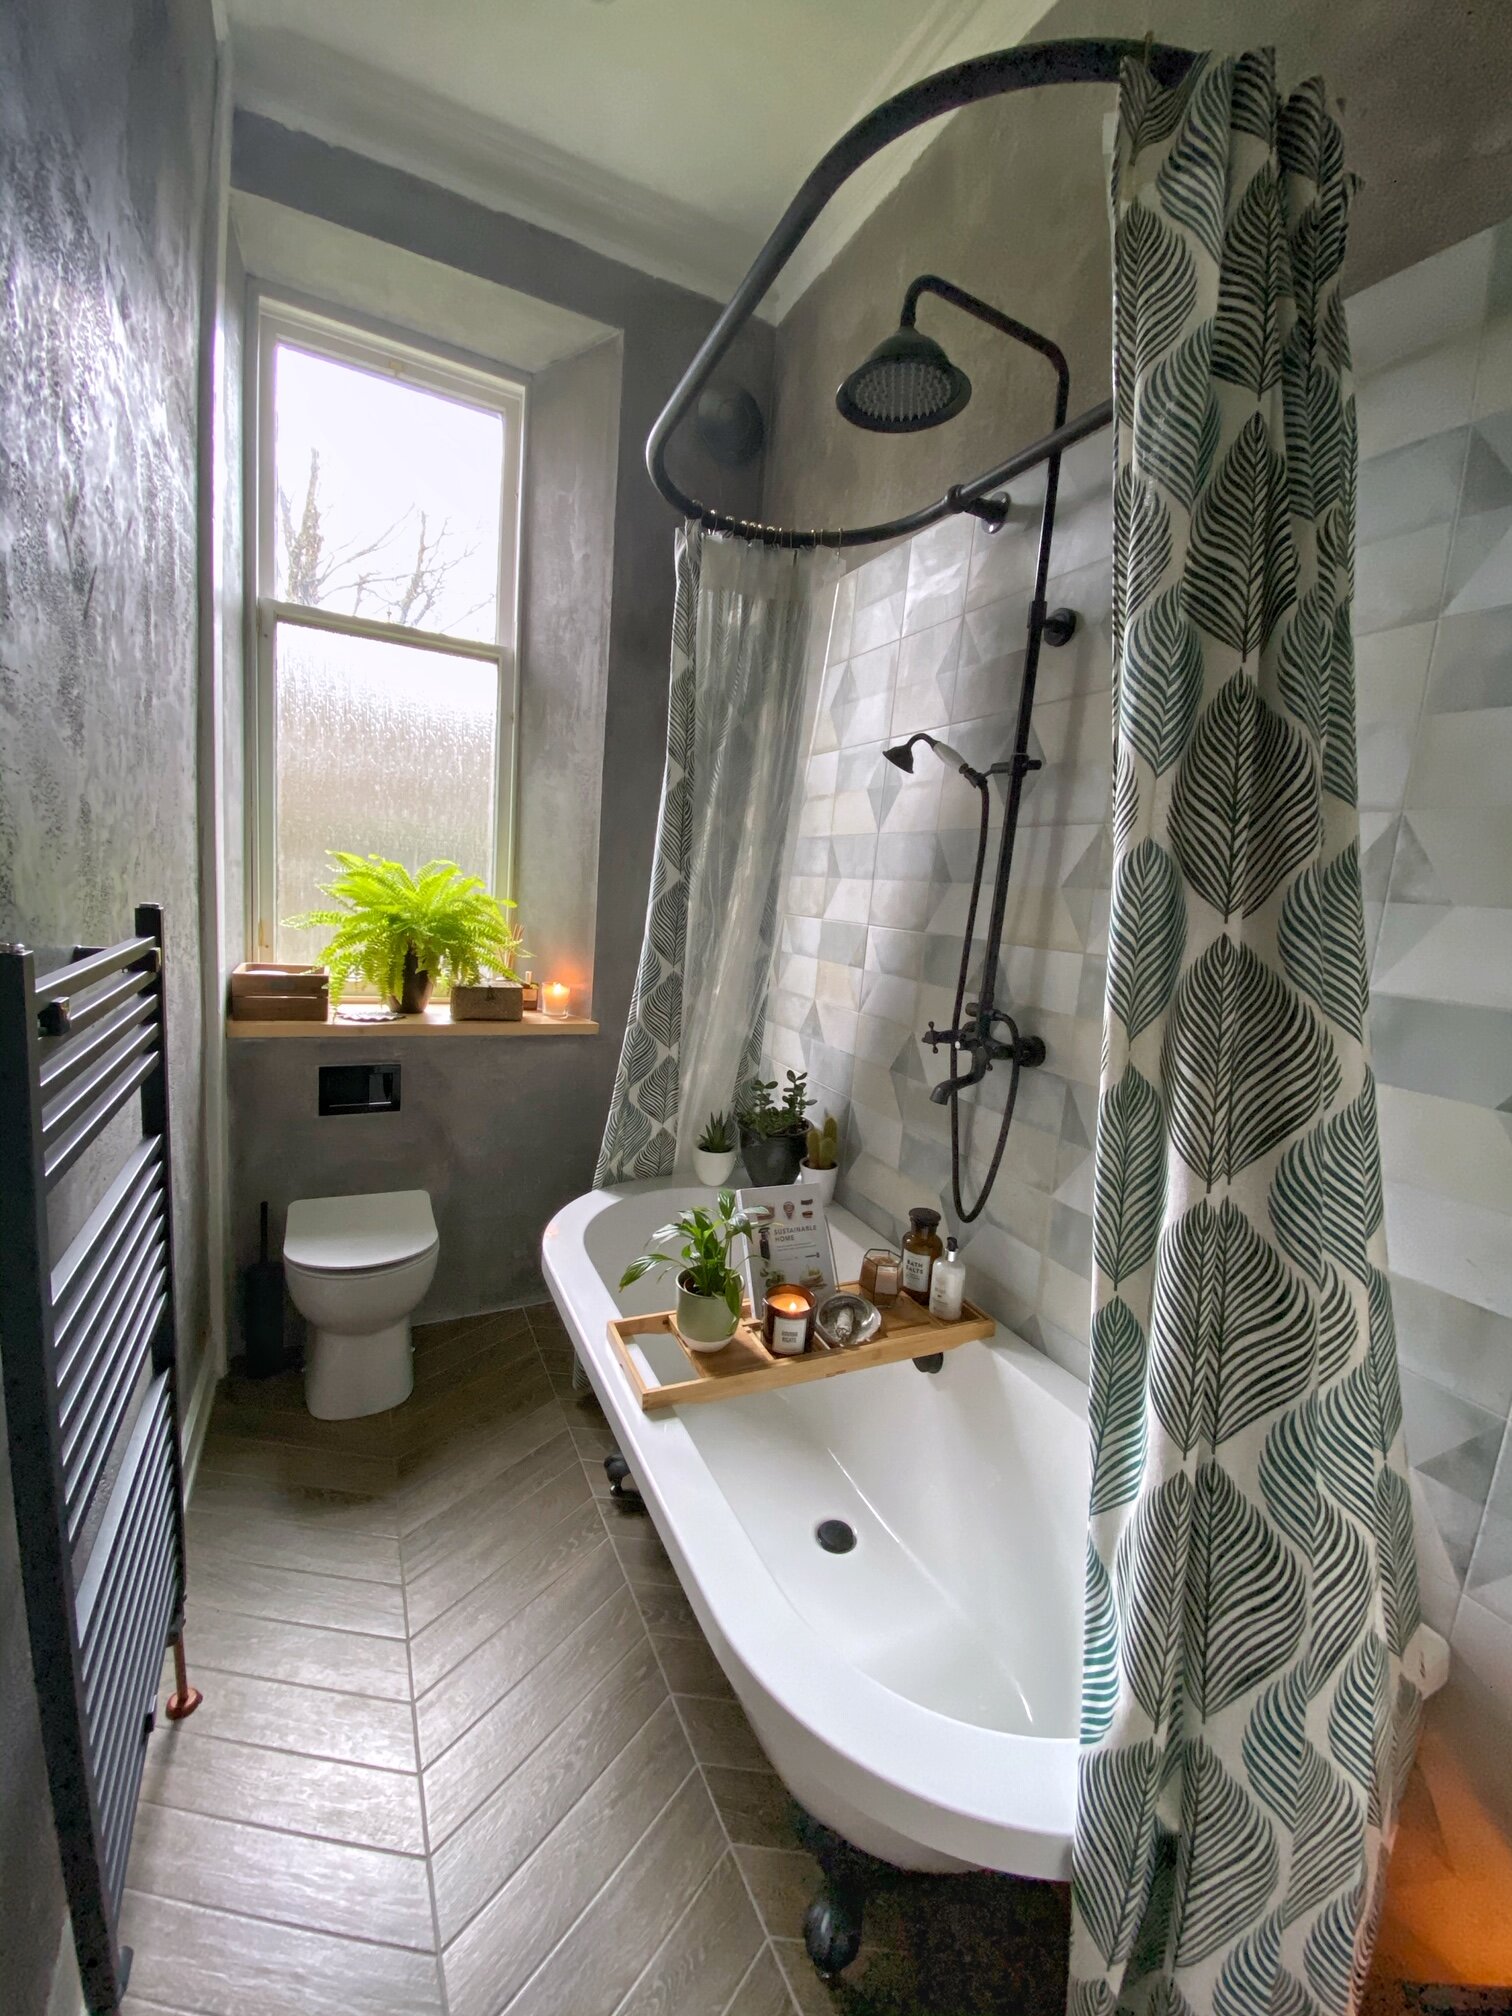
The decorative effect on the walls is a single coat plaster that emulates the structure of concrete. It adds elegance and rawness to the space. This effect is not only unique, but also perfect for bathrooms. The humidity doesn’t seem to affect it and I haven’t noticed any cracks etc. You can apply the coating onto walls and floors. It comes in various effects, shades, textures and colours. We went for a semi-smooth finish, so that it looks like polished concrete but still has lots of texture and imperfections. I wanted a much darker finish (and it was tinted) but dark interiors weren’t yet the norm, so I think the plasterer just didn’t get my emphasis on ‘dark’. Oh how things have changed two years on! Normally, I don’t shy away from telling the tradesmen exactly what I want but, since this was a favour, I guess I bottled it! No regrets though, it still gives me the wow factor!

The bath was a happy compromise; it has claw feet and also a straight edge on one side (so that it sits flush against the wall). Practical and beautiful! It’s just much easier to seal and prevents water from pouring over the back when showering. I wanted all black hardware and I managed to find everything except a black shower curtain rail, so I spray painted it. I honestly didn’t think it would survive the shower rings when the curtain was being pulled back and forth but it’s still going strong! The shower rings have little balls looped onto them and I also sealed the rail with several coats of protective lacquer, so that seems to be doing the trick.

The curtains are from Ikea and they work well as outer shower curtains because they’re lightweight. You would probably need to line them for putting on windows, however. I had to hem the curtains to size because they were too long. I also bought two clear, plastic curtains that sit on the inside of the bath. I had to wind one loop of the outer curtain onto the rings first, then I alternated with the inner curtain loop and so on. That way, they both pull open and shut together. It’s a bit of a faff when you want to take them off to clean them but, I think the outer curtain adds colour, character and some much needed texture.

Before

After
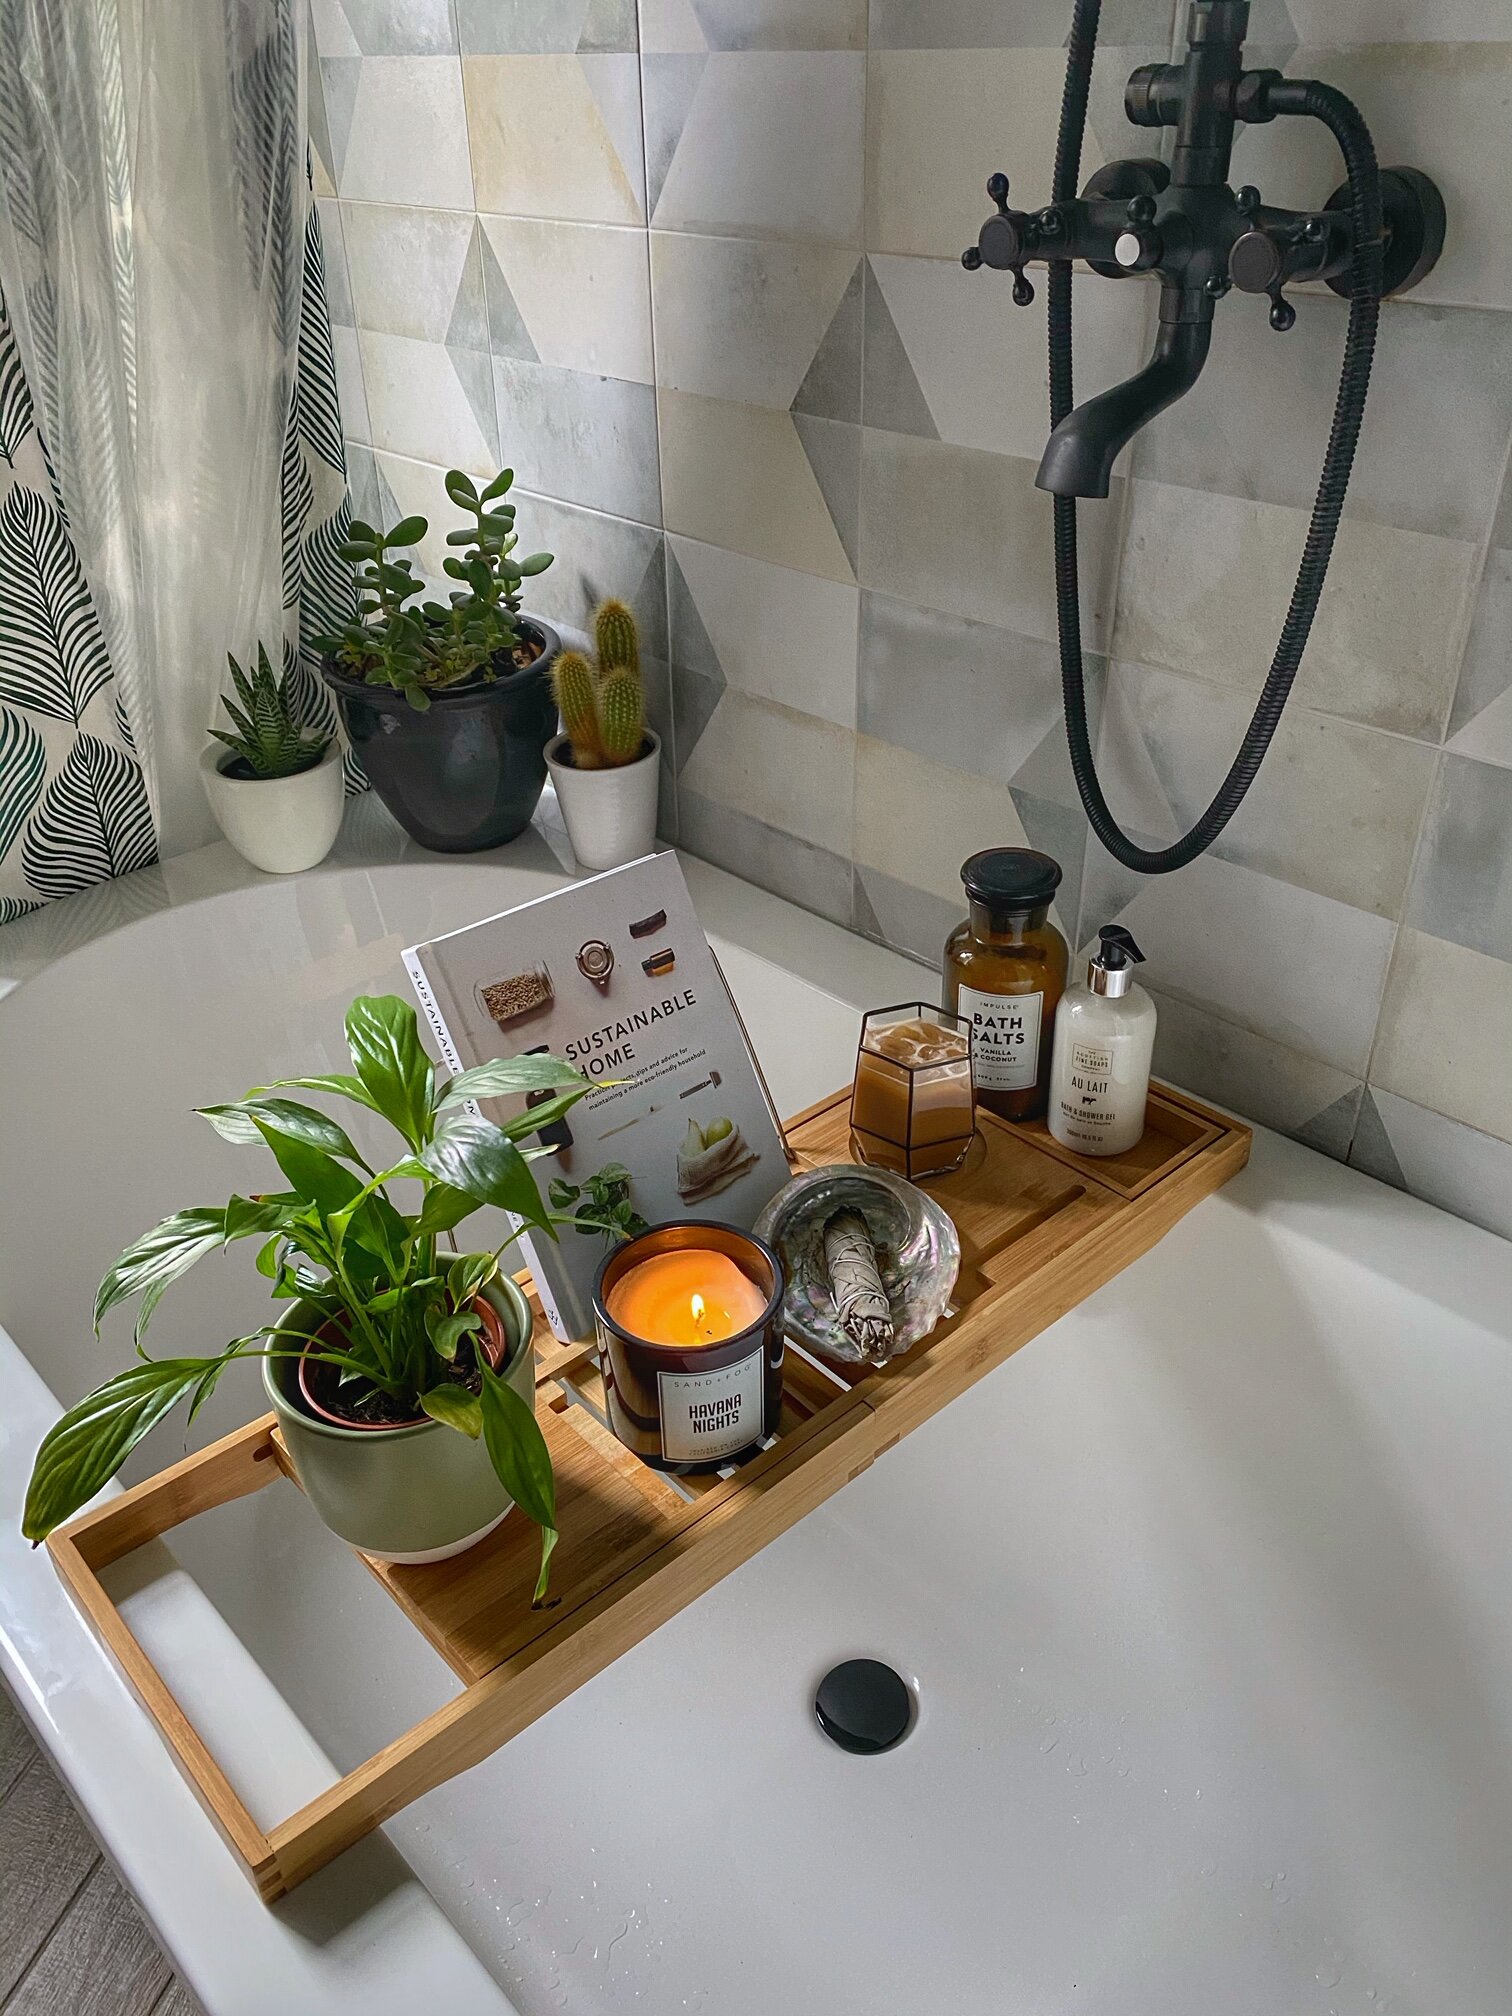
The floor is a wood effect, chevron pattern tile. It has a grey-wash effect to it but the ‘wood grain’ adds a bit of warmth to the concrete walls. The splashback is geometric grey tiles with a cream colour and rustic speckles through them. We used grey grout for all the tiling, it’s so forgiving! It seems like a lot of grey but I didn’t want to use too many contrasting colours or materials in case it looked busy. I have added texture with wood, plants and brass accessories. My Boston fern thrives in the bathroom. It was a quarter of the size only a year ago!

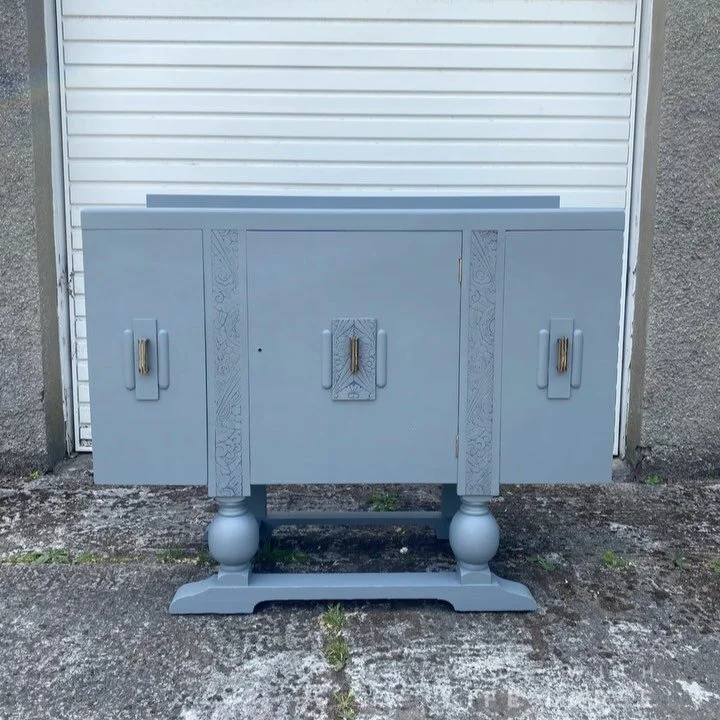
I wanted something a bit different as a vanity unit so I picked up this chest of drawers from Gumtree for £40. We had to cut a section out of the inside of the top drawers to accommodate the plumbing, but it doesn’t deter from the functionality of the drawers. I keep towels in the bottom two drawers (as labelled with my label maker) and toiletries in the top two. I had to be careful with dimensions when choosing these drawers. Obviously, I wanted to make the most of the space so they had to be quite wide. The height needed to be comfortable for washing hands and brushing teeth. The depth couldn’t go past the door opening, plus, all of this had to comply with the basin too. I expected I would have to sand down some ugly, varnished drawers or, at least, change the handles on them. In actual fact, I was so lucky to find this piece that needed no work and fitted perfectly into the space. There was an indent on the top of the drawers, at the back, for what might have been a mirror at some point. I simply slotted some tiles into it to create a splashback; it now looks like it was always meant to be there.

Before

After
If you’re redecorating your bathroom and need some advice then my top tips would be:
Stick to one colour palette to keep the look cohesive
Add greenery and natural materials to create texture
Be innovative with things like hardware or vanity units; ‘chrome’ and ‘practical’ are not the only options available
Bathrooms don’t have to be clinical, treat them like any other room in the house and make them cosy. Try using a bathmat that looks like a rug and add plenty of candles
And that’s it! Let me know what you think in the comments.