10 Easy Steps to a DIY Upholstered Coffee Table / Footstool
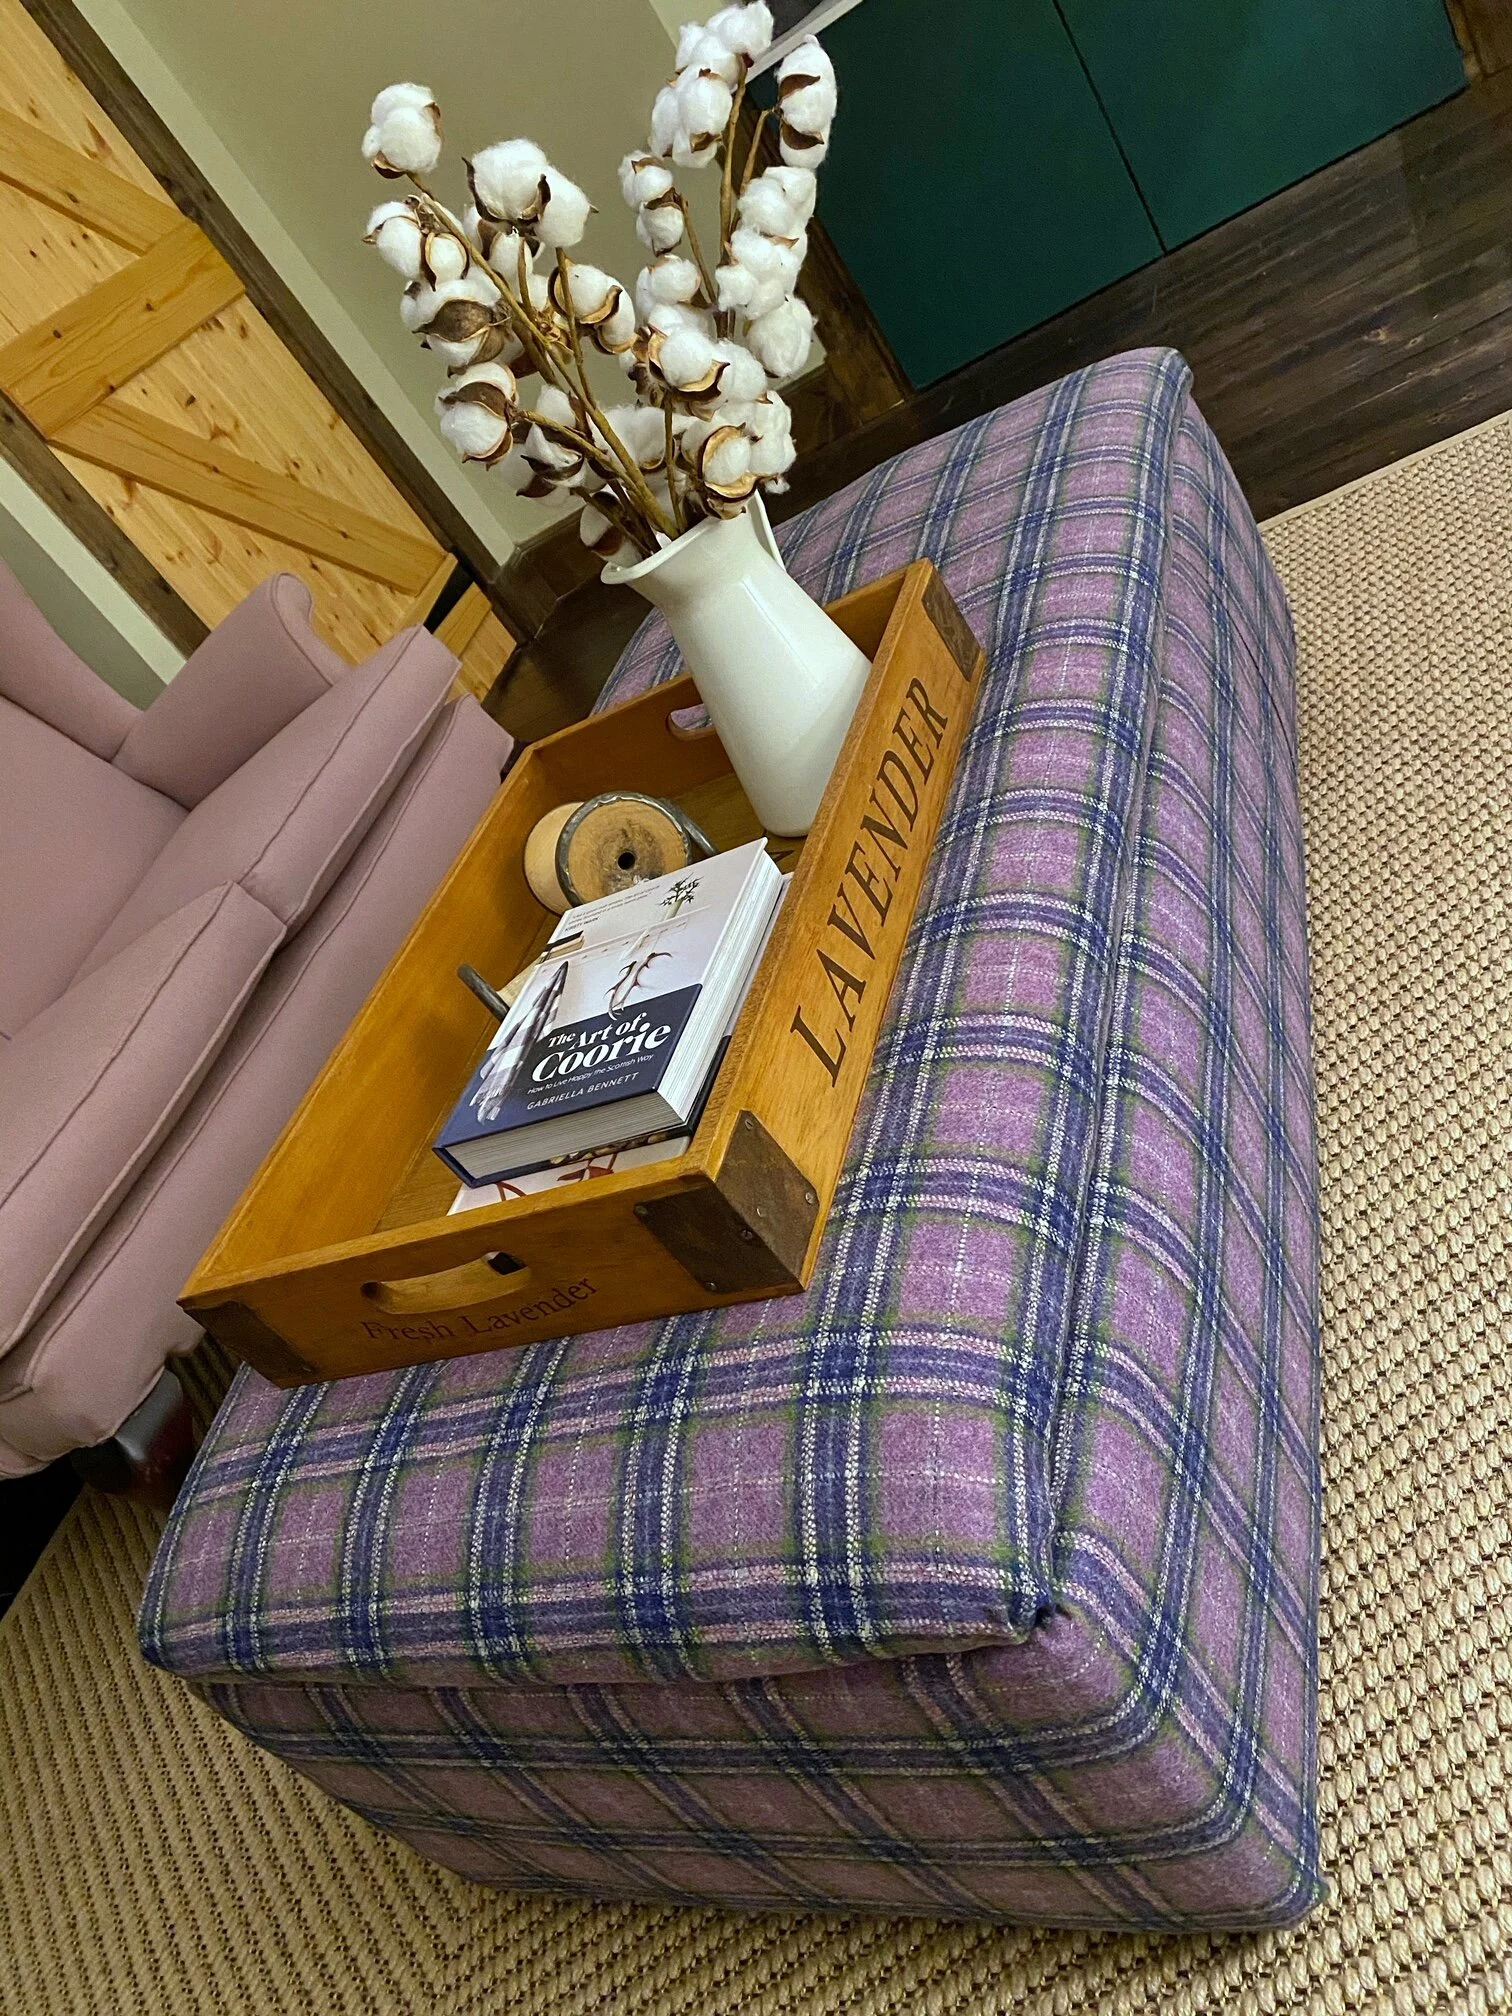
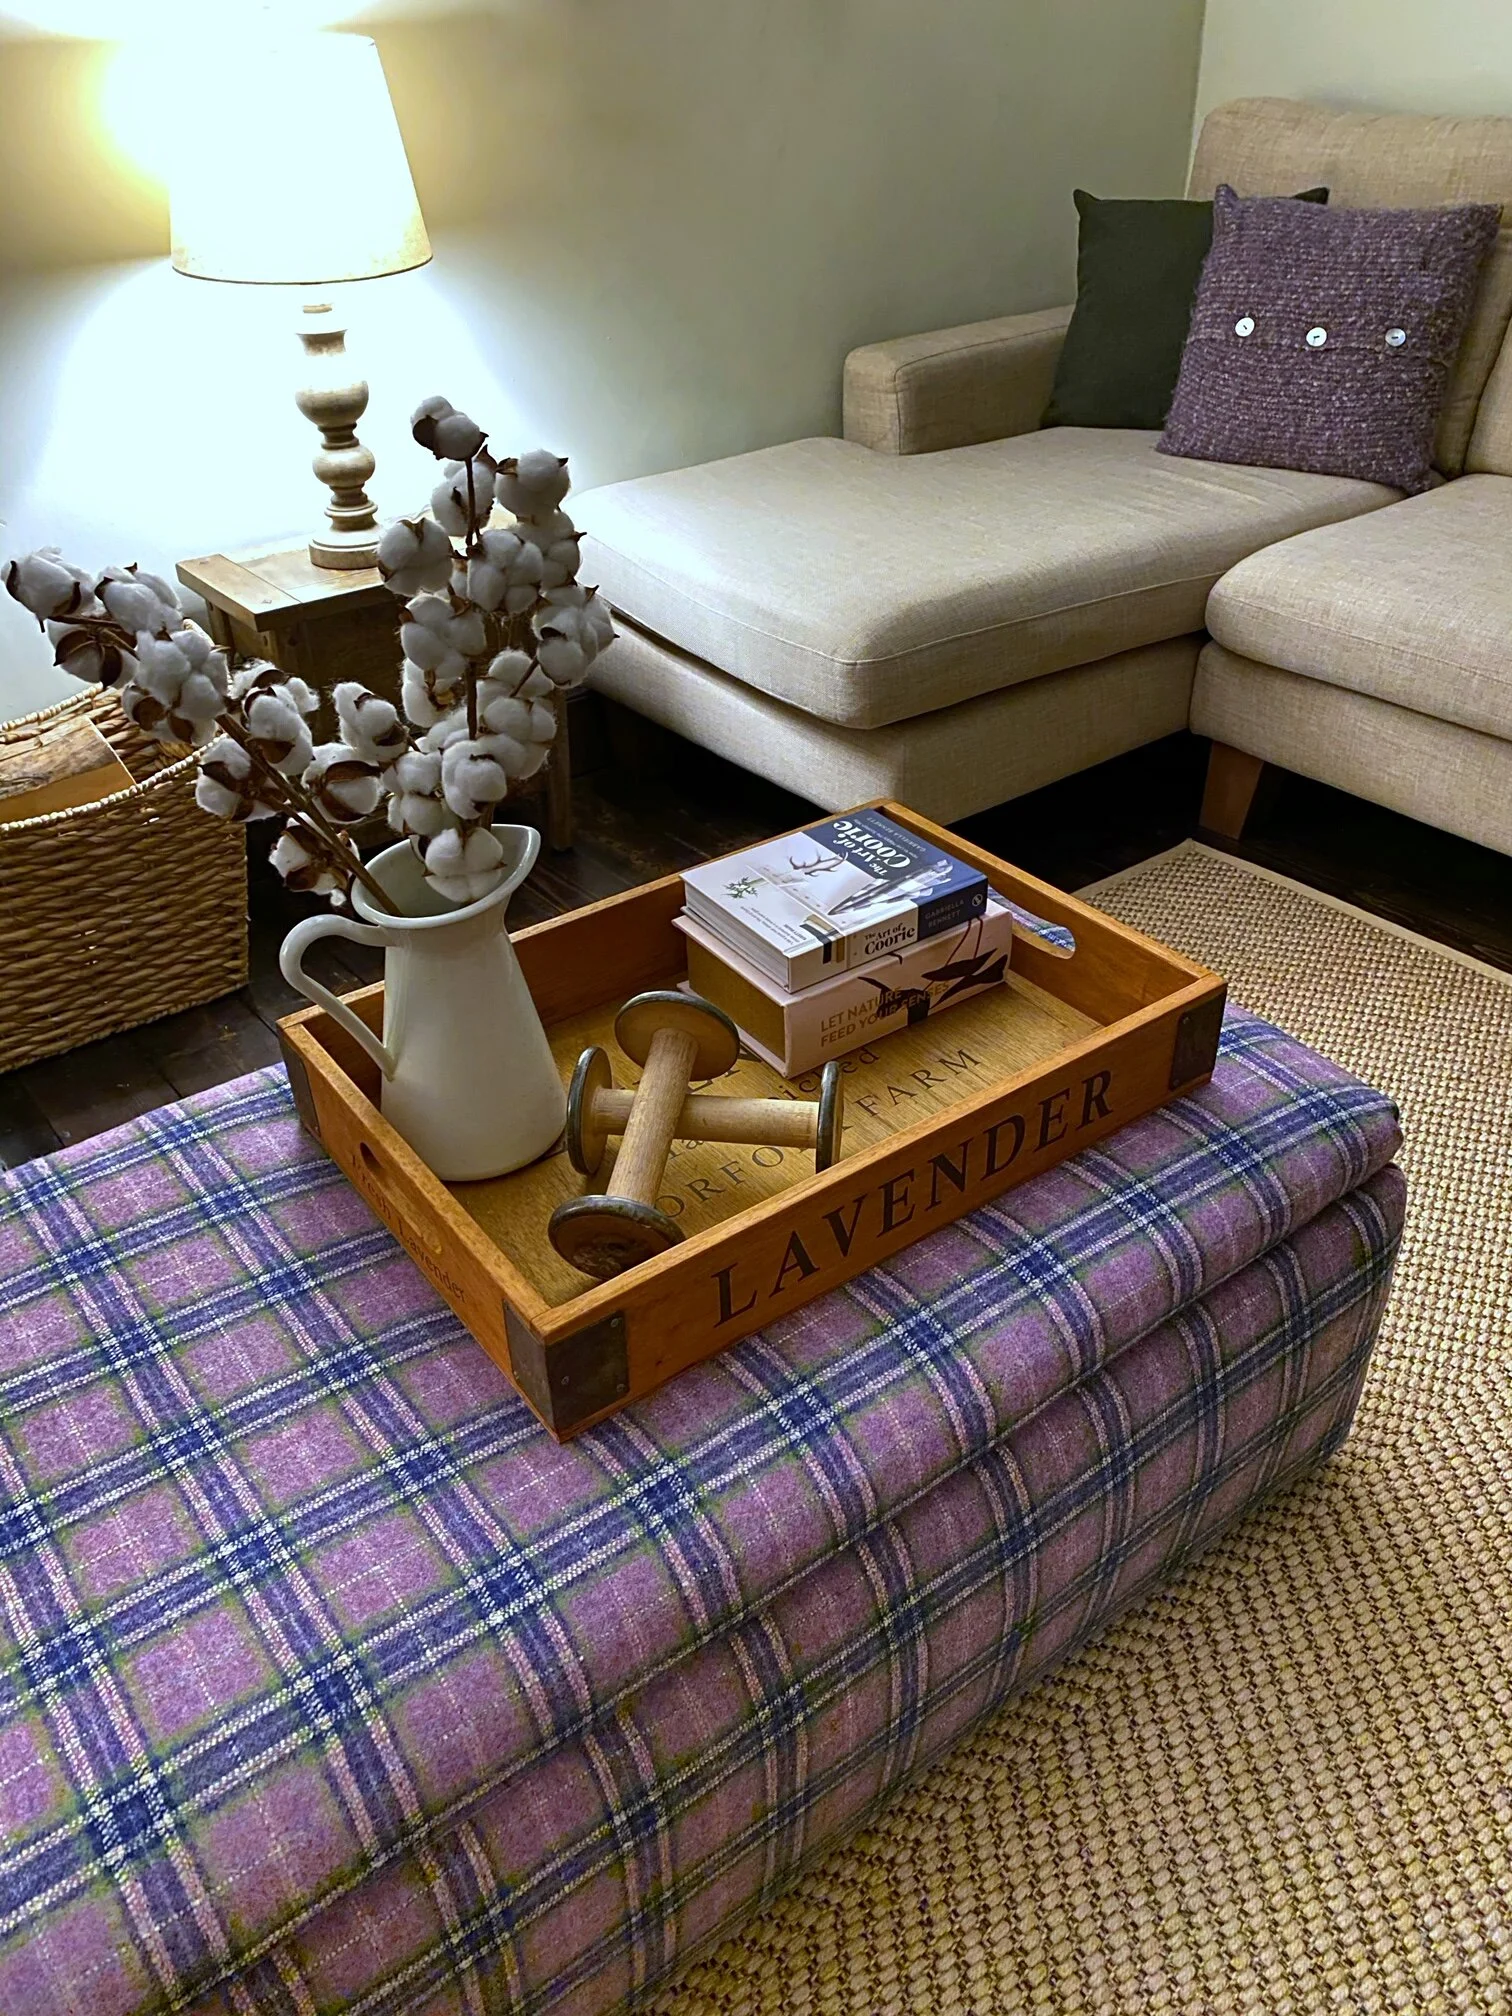
A footstool or ottoman that acts as a coffee table is handy in so many ways. In this case, I wanted to create an extension to the corner sofa to allow for a sofa bed. Basically, the footstool will slide into the gap of the corner sofa to create a rectangle instead of an ‘L’ shape. Think Tetris! The rest of the time, it can be used as a footstool, coffee table or extra seating. There is storage inside it to stash board games etc. and I also got this huge tray for when you want to set your mugs or glasses onto it. I built this for our holiday cottage, which can now sleep eight people. There’s probably only enough seating for six people in the lounge but with this footstool being modular, it can be rotated to face the corner sofa to create a more social space. The cottage is very small and cosy so multi-functional furniture goes a long way here. If you want to know how I made it, here are the step-by-step instructions…
You will need:
MDF - I used the 18mm thick stuff
Wood offcuts - 2 by 4’s or fence posts etc.
Wood screws
A Drill
A Jigsaw or hand saw
Safety equipment - goggles, dust mask, gloves
Sandpaper or a sander - 40 grit stuff
Flush-mount hinges
Batting/ Wadding - I used an old duvet
Foam/ cot mattress
Decorative fabric of choice
Upholstery stapler + staples
Good scissors
Measuring tape
Sharpie
Step 1
Determine your dimensions. I needed my footstool to be 1300mm long x 600mm wide x 450mm high. I went to B&Q and bought one sheet of MDF that measured 2440mm x 1220mm. B&Q have a FREE in-store cutting service so I asked them to quarter the sheet for me. That left me with four sheets measuring 1220mm x 610mm. Since those dimensions were close enough to what I needed, I figured that would make the most sense in order to save wastage. I used one of the four pieces as a base, one as a lid and then cut the remaining two pieces to create the sides.

A diagram of the cuts I made
Step 2
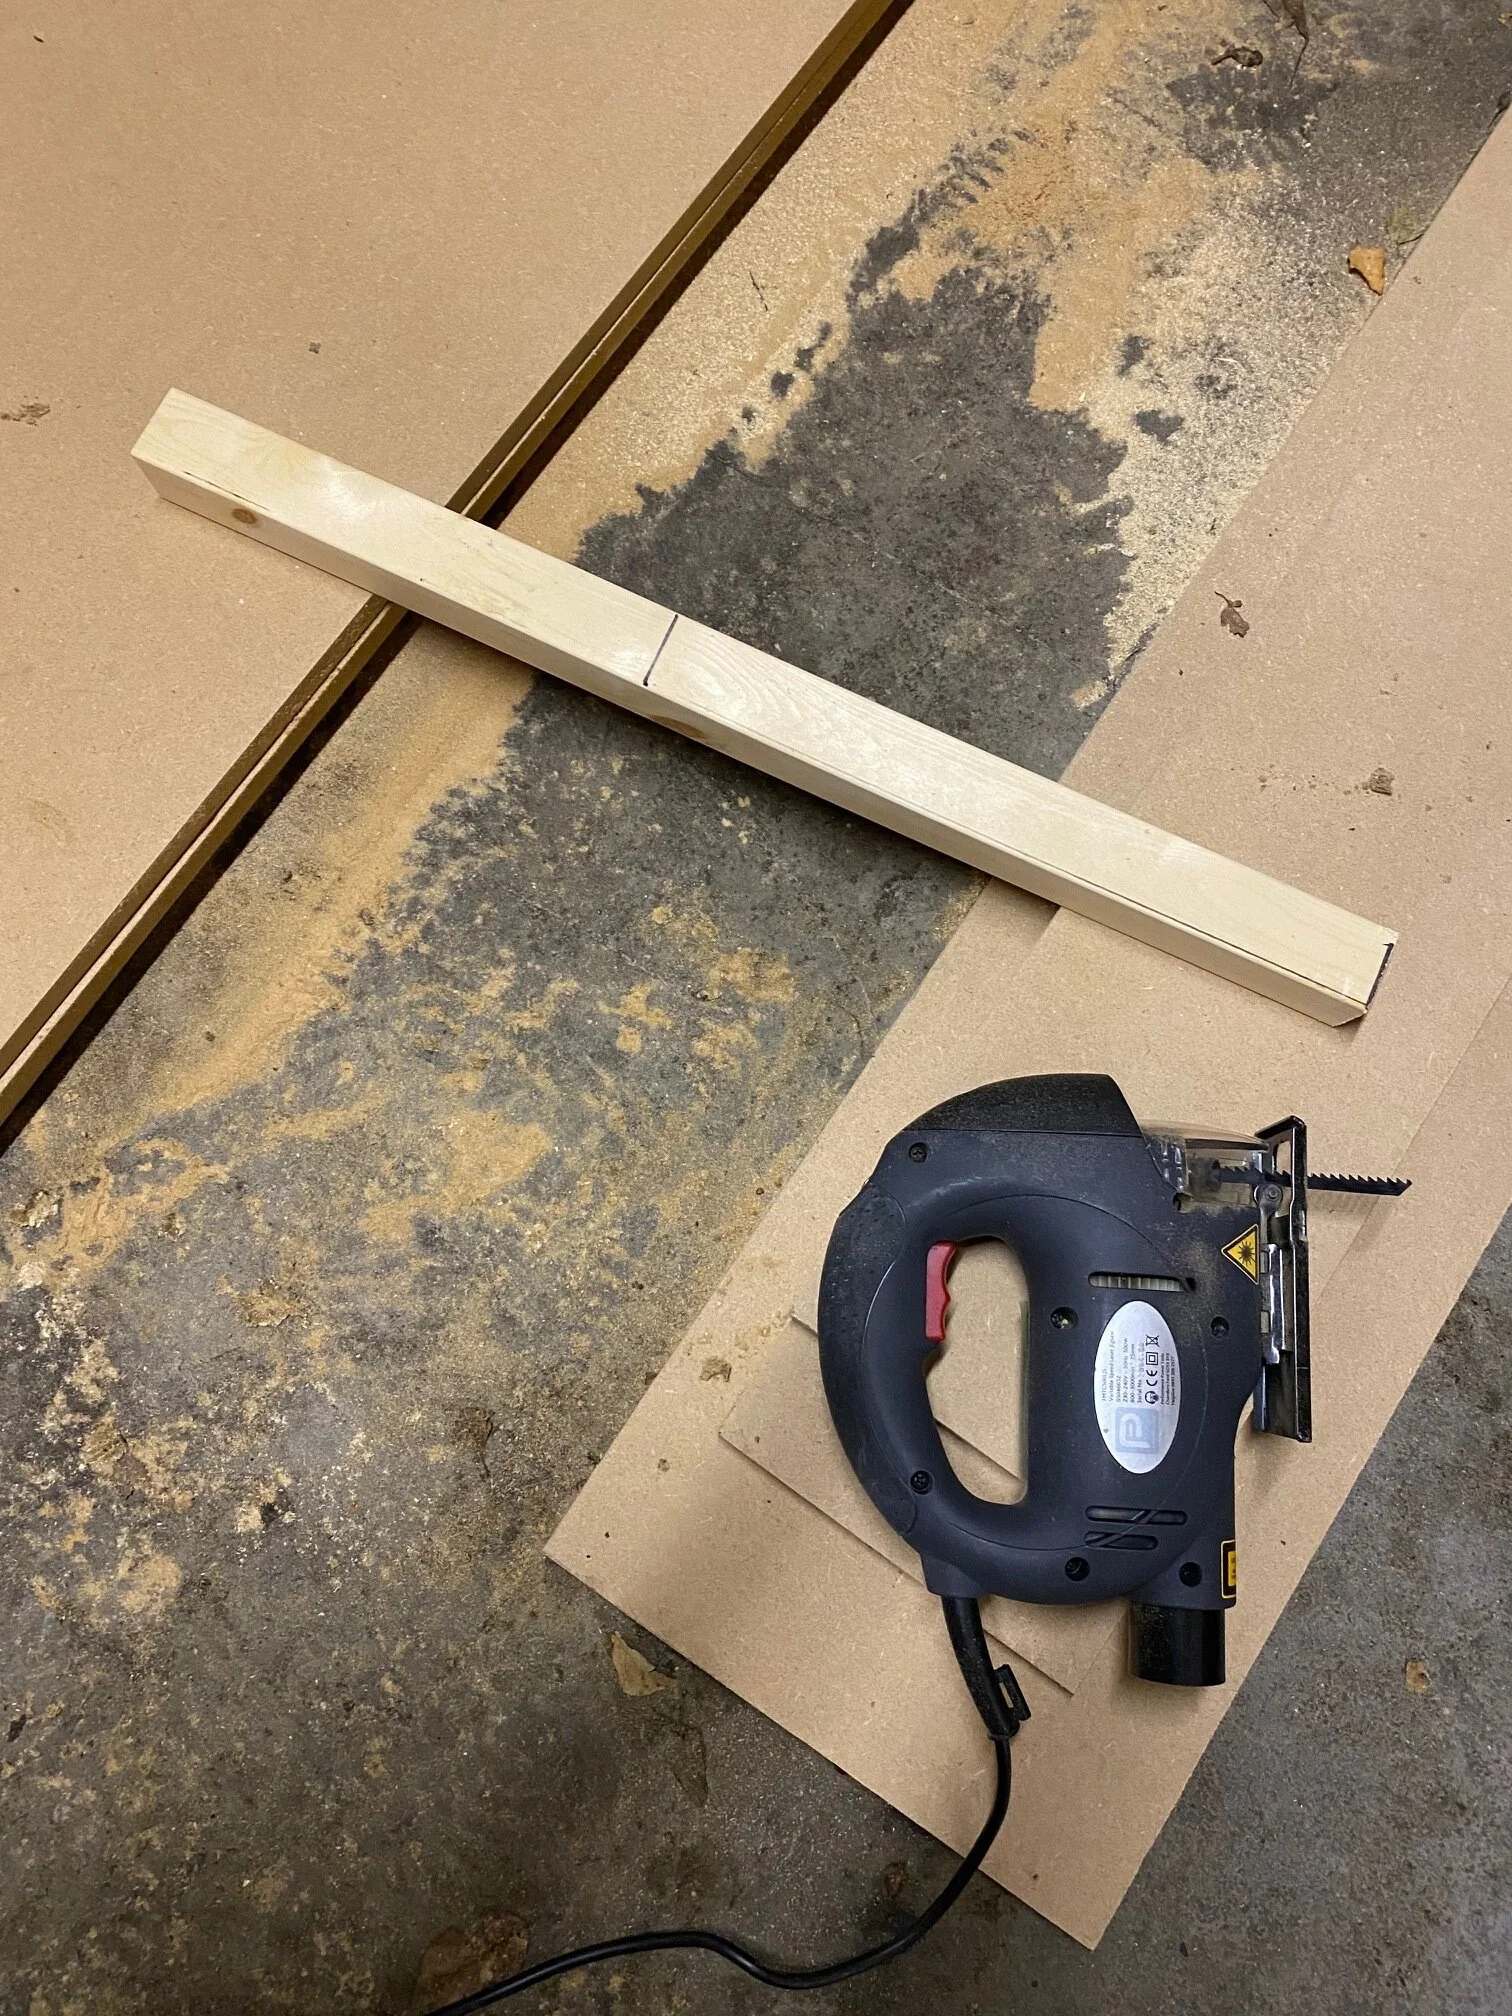
For the sides, cut one of the pieces in half (length-ways), with a jigsaw, to create the long sides. I was still 145mm (450 - (610/2)) off my desired height but, when you take into account the thickness of the MDF and add 18mm to both the top and the base (145 -36mm) that only leaves it 109mm short, which can be padded out with the upholstery and also by adding legs. Use the remaining MDF to cut the short sides to size. You can also use a hand saw but a power tool tends to get the job done faster. TOP TIP: To help you cut in a straight line, set one piece of MDF on top of the one you want to cut (like a giant ruler) and measure the distance between the two sheets at several intervals, all the way along, to make sure it’s straight. Then use a Sharpie to draw a line where you need to cut. You can also use a laser. Or, even better, ask the nice staff at B&Q to cut every piece exactly to your dimensions :)
Step 3
Cut the wood to size. Put the MDF sides into place on top of the base. Now measure the inside height and cut the wood to that size. You’ll need four pieces of wood; one for each corner. I lined up my structure so that the long sides were on the outside and the short sides were on the inside of the frame. That’s how I measured them for cutting so just check that you’ve lined them up correctly.

Diagram for reference
Step 4
Screw the frame together. To ensure you’re lining everything up correctly, you can place the wood into the corner and draw a line, on the MDF, all the way down, with your Sharpie. It doesn’t matter which way you screw the wood and MDF together, just make sure you get it to catch and keep gaps to a minimum. The screws have to be long enough to catch but not too long to go all the way through. I wouldn’t bother trying to hide the screws by using pocket-hole screws etc. when the whole thing is being upholstered anyway. I used four screws for each piece of wood. I also placed them about an inch from the base so that I could screw feet into the wood, from the bottom, without the screws interfering.

Step 5
Flip the frame and put the base on top. Screw the base into the frame. Try not to screw into the middle of the wood pieces because that’s where the legs go. You’ll want to catch the wood in some way though. Then just screw MDF into MDF at various points all the way around. Flip the frame back over and make sure everything lines up. If your frame is slightly off or warped, you can sand down the excess or just cut it off. It’s not really important if it’s imperfect. This will all get padded out when you come to upholster it. At this point, you might want to sand down the corners to round them off a little. This will help prevent your fabric from rubbing and tearing. Make sure you wear a dust mask when sanding.

Step 6
Upholstery time! I used an old duvet because it was free and saved from landfill, plus, batting can be expensive! Wrap the frame and cut the duvet to size. Staple it to the frame, all the way around the sides. It doesn’t matter if the duvet doesn’t wrap around the entire frame in one single piece. Just pad the whole thing out and make sure you use plenty of staples. I kept the outer lining on the duvet, it’s easier to staple than the filling itself. I stapled into the base at the bottom and up to the edge at the top. If you overlap the batting at the top then the lid may not sit flat on top of it.

Step 7
Get your foam. I used a second hand cot mattress, because it’s much cheaper than upholstery foam and it does the same thing! I just lay the foam on the lid and wrapped the remainder of the duvet (batting) around it. Staple it into place. I stapled into the under side and then wrapped the whole thing in a furniture dust cover (since the lining had separated from the duvet by this point). If you want to line the inside of your footstool then you can use a lining fabric at this point. I didn’t bother though.


Step 8
Wrap your chosen fabric around the sides of the frame. Make sure you order enough fabric (in one length) to wrap the footstool fully. I didn’t, eeeek! So I had to match it up carefully so you couldn’t see the join. It’s not a big deal, you hardly notice it! Learn from my mistakes though. Again, cut to size and staple it all the way around. Cover the lid and staple that into place too. TOP TIP: when it comes to the corners, flatten out the fabric into the corner, it will form two creases at the sides. Pinch these creases together and pull them tight, then staple them down. You can cut off the excess fabric.


Step 9
Flip the base section over and screw in the legs. I used four plastic door stoppers. I planned to use furniture feet but they would have added too much height to the footstool so these were perfect. I checked the footstool against the sofa every-so-often, just to make sure the dimensions were still on track.
Step 10
Screw the lid onto the base using flush-mount hinges. If you use normal hinges then you’ll be left with a gap. You can also just lay the lid on top. And that’s it! A handmade, bargain piece to be proud of!
I must admit, I was completely winging it with this project. I didn’t follow a guide or watch a video, I just visualised it and made it based on logic. I work best on a trial and error basis and I’ve taken lots of lessons out of this. So, the next one will be a doddle!